Posted on Leave a comment

Not the Dream Nugget: Three Fossicking Tests and One Possible Fleck of Gold

jaysndees gold fossicking feature image

The night before this fossicking trip, I had a dream that I was panning in a specific section and found a gold nugget about the size of my head.

That did not happen.

Not even close.

What I may have found instead was a tiny fleck of gold – which is much less dramatic, but probably far more believable.

I also found part of an old baking tray, some copper wire, a rusty chunk of metal, a hook and sinker, a few cans, some interesting quartz, and possibly something that needs to be treated very carefully.

So no, it was not the dream nugget.

But it was still a very useful day.


Where This Attempt Fits Into the Bigger Gold Experiment

This outing is part of my ongoing gold fossicking and smelting experiment series: Learning Gold the Hard Way: Fossicking, Smelting, and Small-Scale Experiments.

After my first smelting attempt, it became obvious that the material preparation stage matters a lot. So this trip was not just about chasing gold. It was about looking more carefully at where I sample, how long each site actually takes, what kind of material I bring home, and whether any of it is worth processing further.


The Original Plan

My original plan was to visit a few different areas and spend roughly an hour sampling each one. I packed the basic kit: pan, classifiers, screwdriver, prybar, vials, snuffer bottle, shovels, buckets, the cheap metal detector, and a small hand-cranked blower for clearing loose leaves from cracks and crevices.

I also took my phone, because I expected the day would probably become part of this series whether I found anything or not.

I quickly realised that properly sampling, photographing, panning, checking, and recording even one location takes longer than I expected.
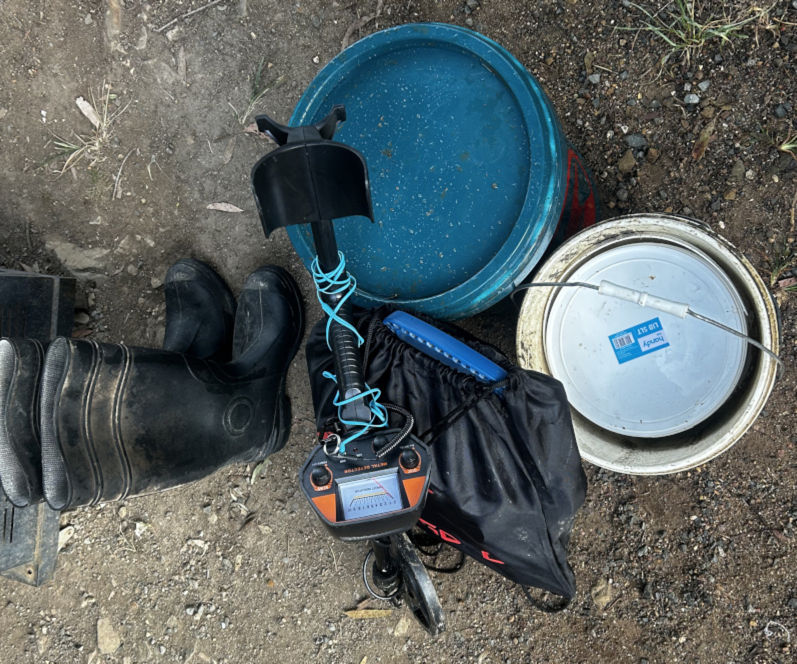
jaysndees fossicking experiment tools packed and ready

The Actual Day: Slower, More Focused, and More Useful

As usual, the plan changed once I was actually out there.

Instead of trying to rush through too many spots, I ended up focusing on three locations that I had either not visited before or had not spent much time at. I will refer to them here simply as Site 1, Site 2, and Site 3.

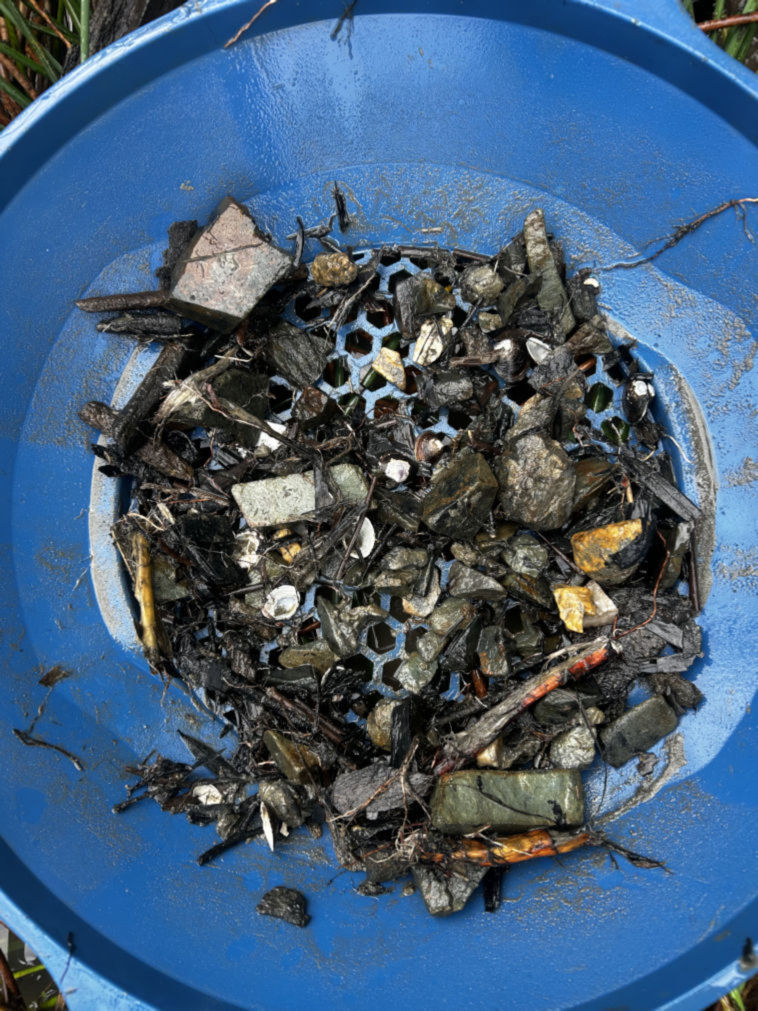
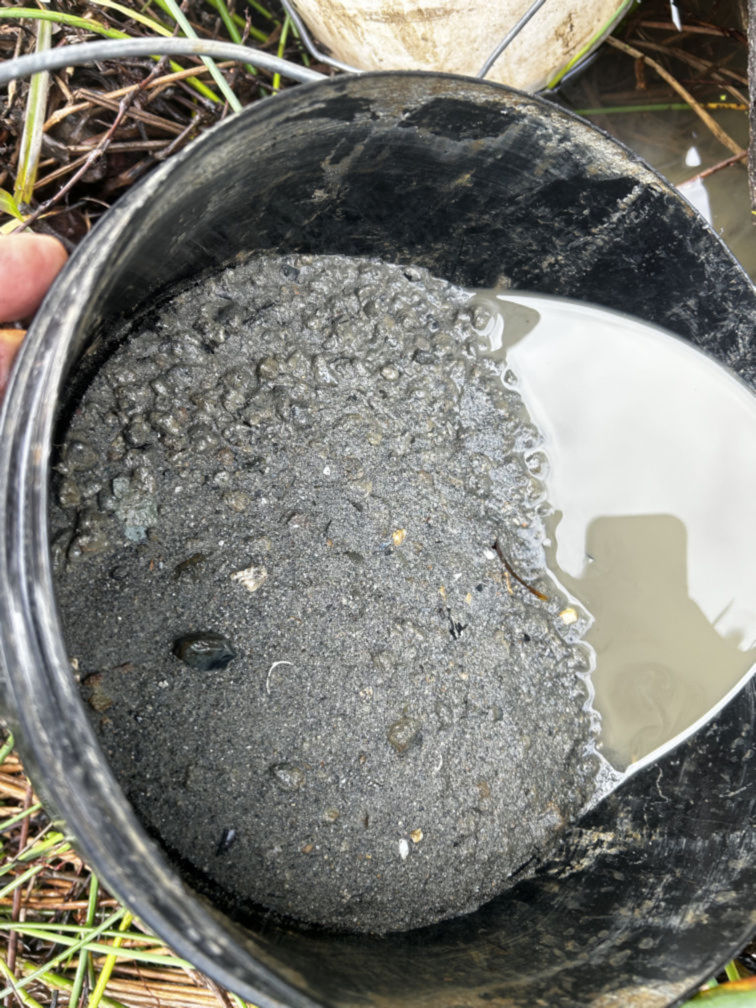
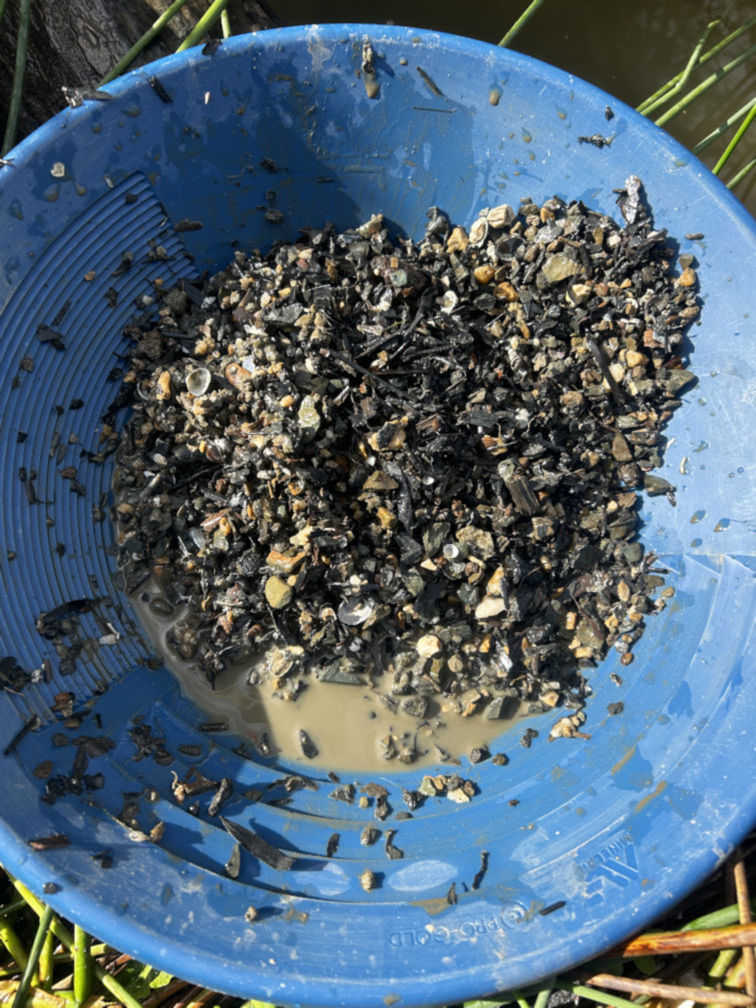
That turned out to be the better decision. Properly checking even one location takes longer than I expected. By the time I had looked around, taken photos, collected material, classified it, panned it down, checked the results, and bagged concentrates for later, an hour disappeared very quickly.


Why I Am Keeping the Locations General

I am deliberately keeping the locations general in this post.

Instead of naming exact spots, I will refer to them as Site 1, Site 2, and Site 3. The point of this series is to document the learning process, not to send people to specific patches of ground to dig up.

Some areas already show signs of being heavily worked, and I do not want to add to that problem by turning this into a location guide.


Site 1: Detector Distractions and No Obvious Gold
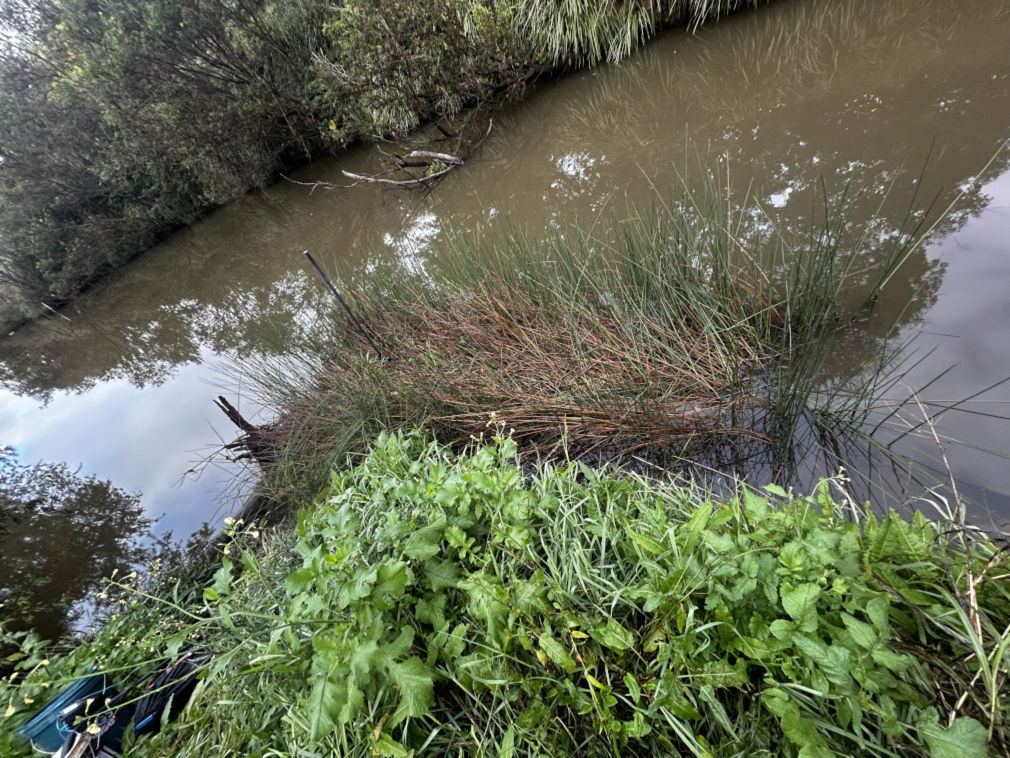
This particular site was chosen due to some of the stereotypical features that are seen to capture gold – inside bend, well-rooted vegetation, clay areas, submerged logs, multiple low pressure areas.

Site 1 did not produce anything significant while I was there.

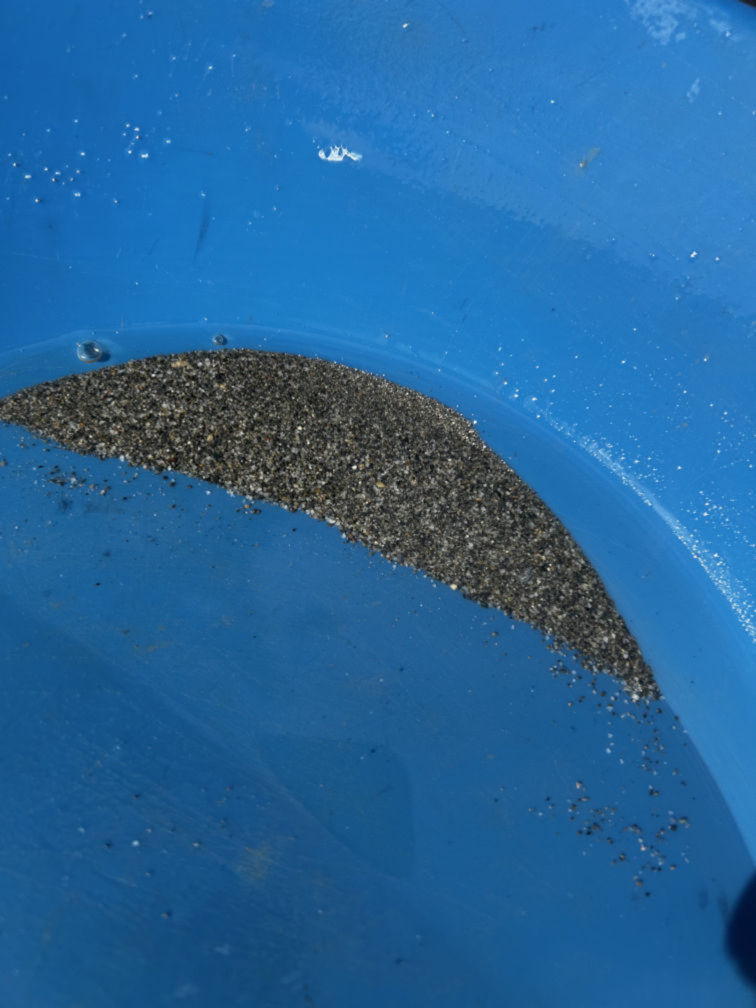
I still have a small bag of final concentrates from this site that I need to pan out properly at home, so I cannot completely write it off yet. But in the field, there was nothing that stood out as obvious gold.

The metal detector did get involved, though. It was very enthusiastic in finding things for me.

Unfortunately, it did not lead me to the dream nugget. It led me to part of an old baking tray, 2 aluminium cans and a piece of copper wire.

Not exactly treasure, but at least it proved the detector could find something.


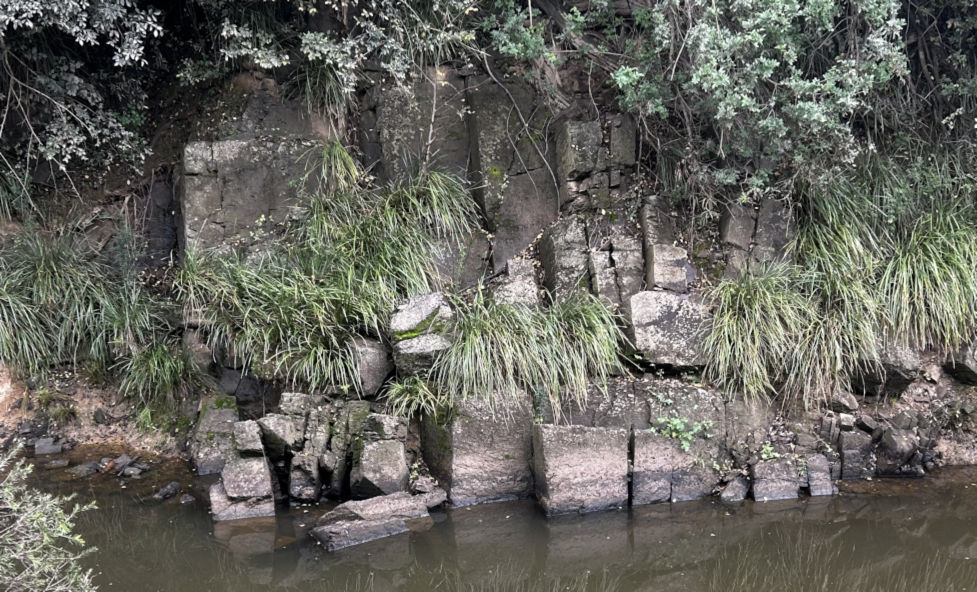
Site 2: A Heavily Worked Common Area
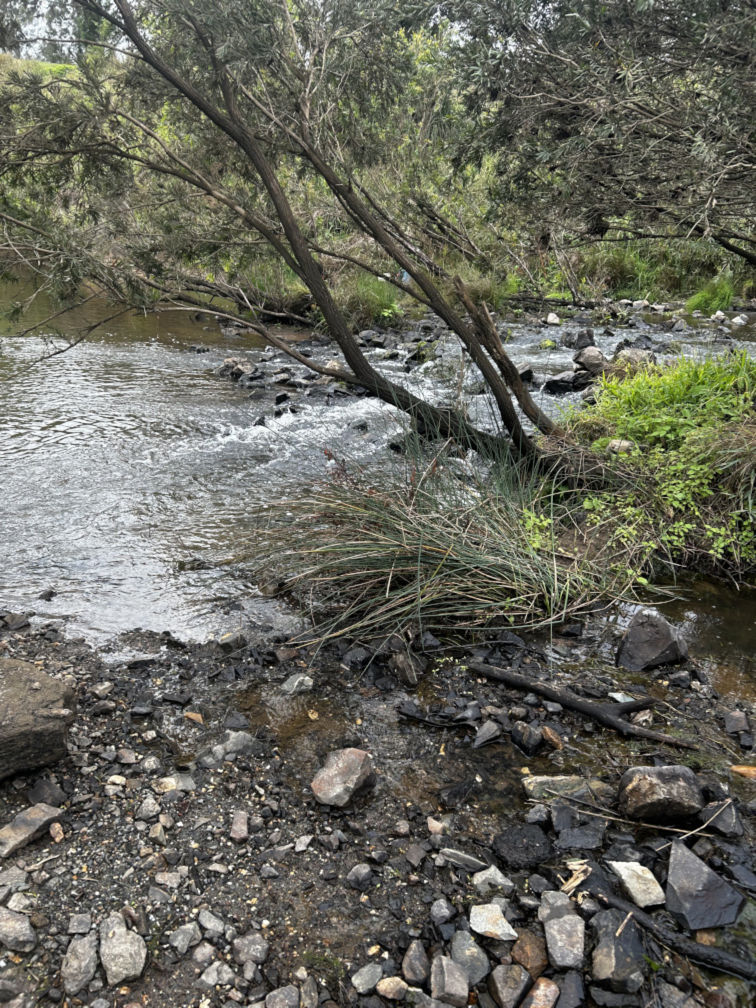
Site 2 overview

I investigated this area as it is one of the more easily accessible places. There is plenty of rocks of varying sizes, rapids and ripple systems, and enough vegetation to keep it interesting.

Site 2 looked like it had already seen a lot of attention.

There were signs of extensive sluice work, along with holes in creek banks. That was disappointing to see. Not just because heavily worked ground may be less likely to produce anything interesting, but because damaged banks and unfilled holes are exactly the kind of thing that gives fossicking a bad name.

I did not find anything obvious there, but I still brought home a small bag of concentrates to check properly later.

At this stage, Site 2 feels like the least exciting of the three.


Site 3: The Most Interesting Site of the Day
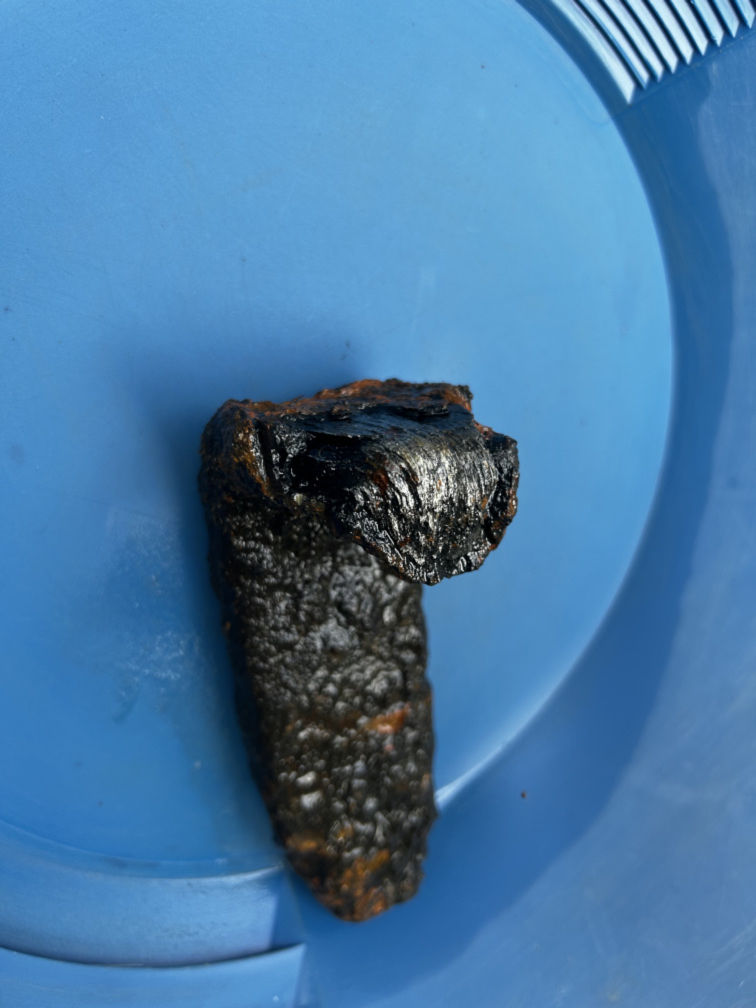
Site 3 was easily the most interesting location of the day.

It started promisingly when the metal detector screamed at me. Naturally, that gave me a brief moment of hope. Maybe this was something interesting. Maybe this was the day’s first real find.

It was a chunk of old rusty metal.

So the detector had once again done its job, just not in the way I wanted.

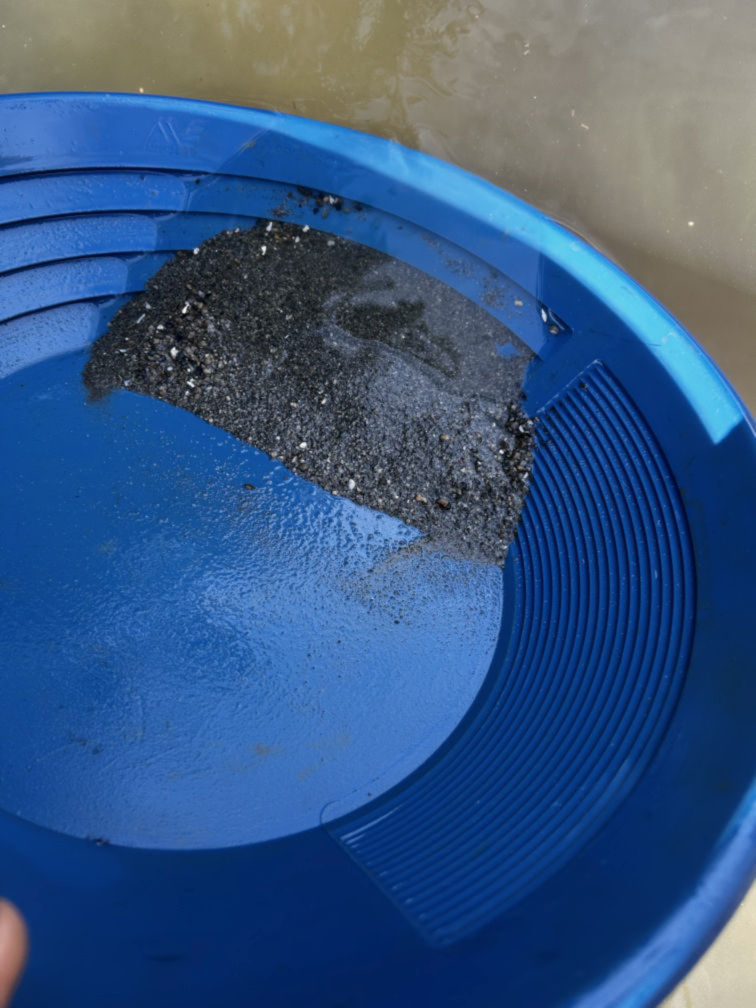
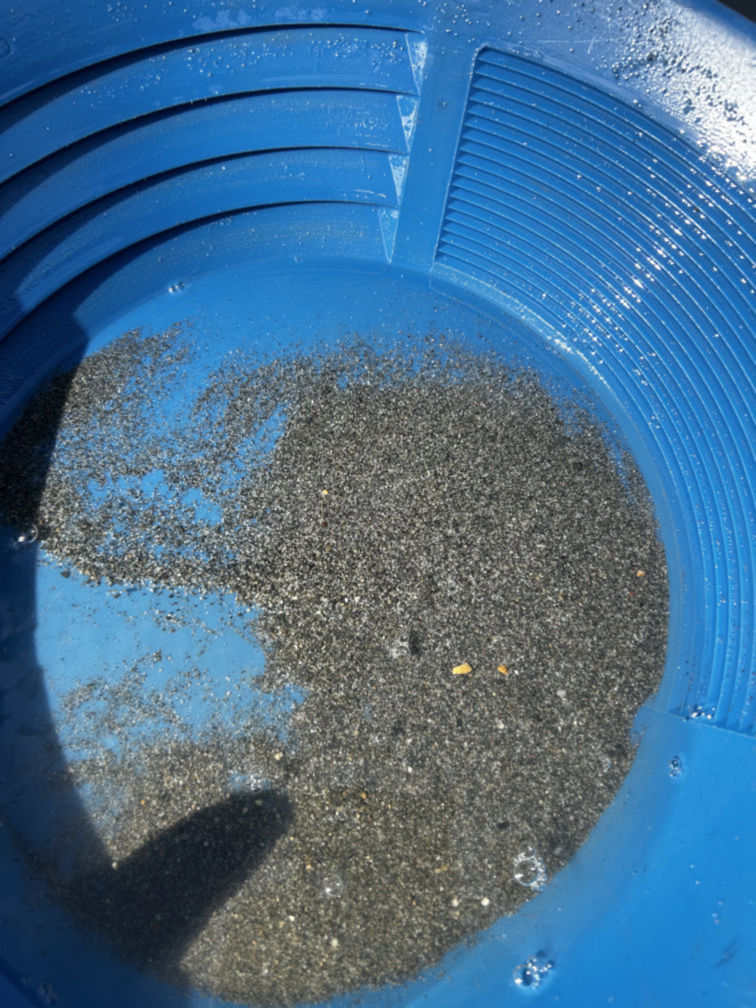
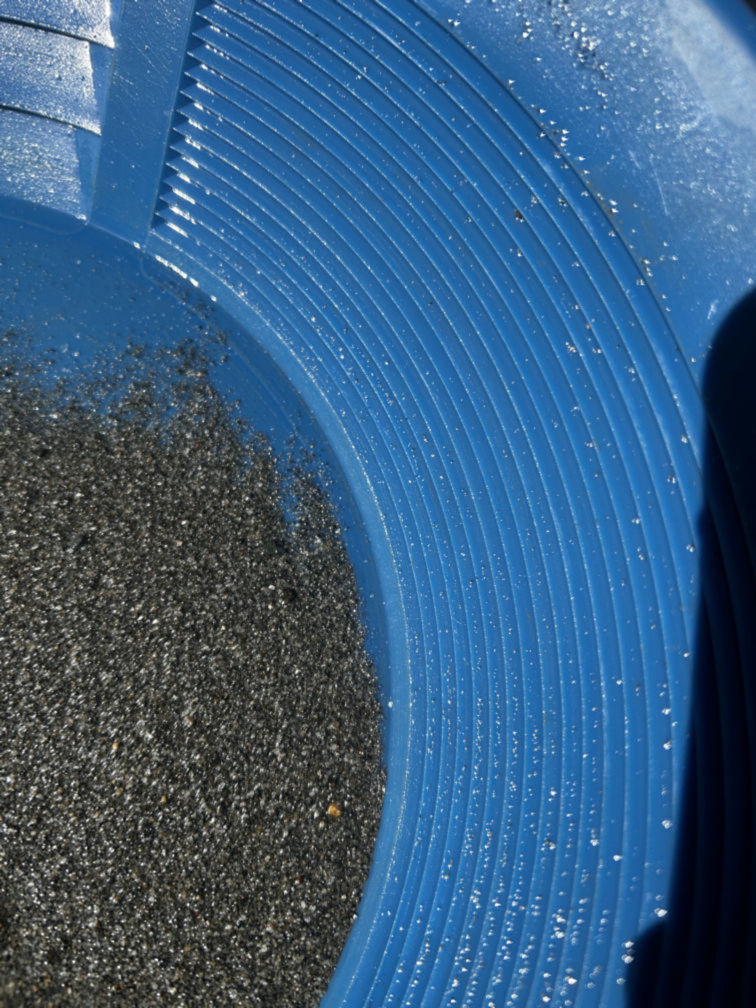
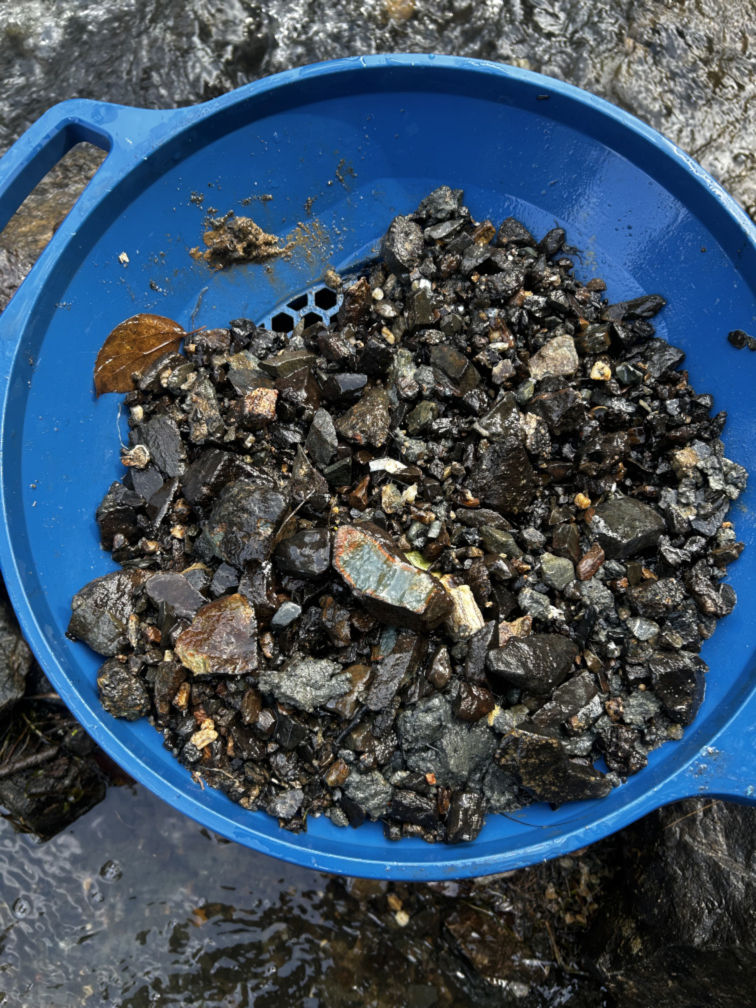
But Site 3 was still the site that made the day worthwhile. This was where I found the tiny possible fleck of gold, and it was also where I found the most interesting material overall.


The Possible First Fleck of Gold
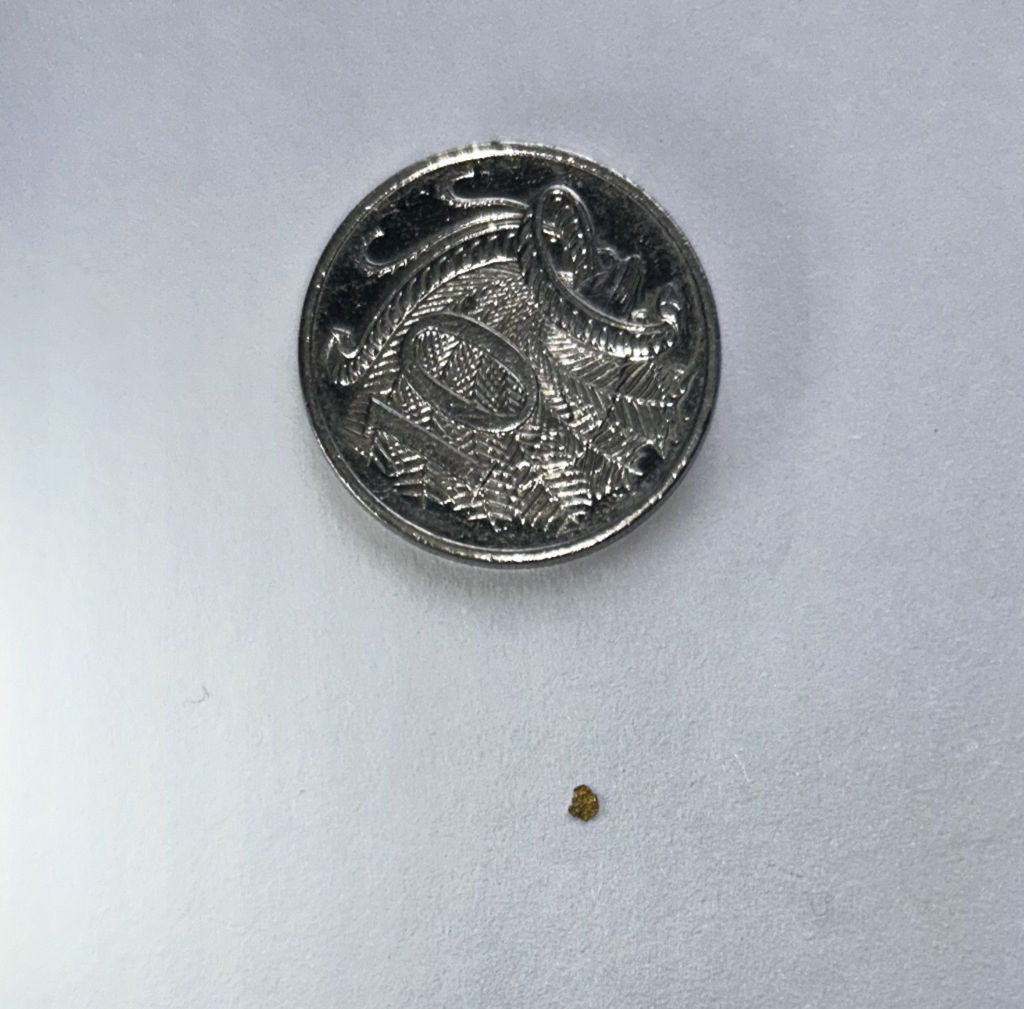
I am being careful with the wording here.

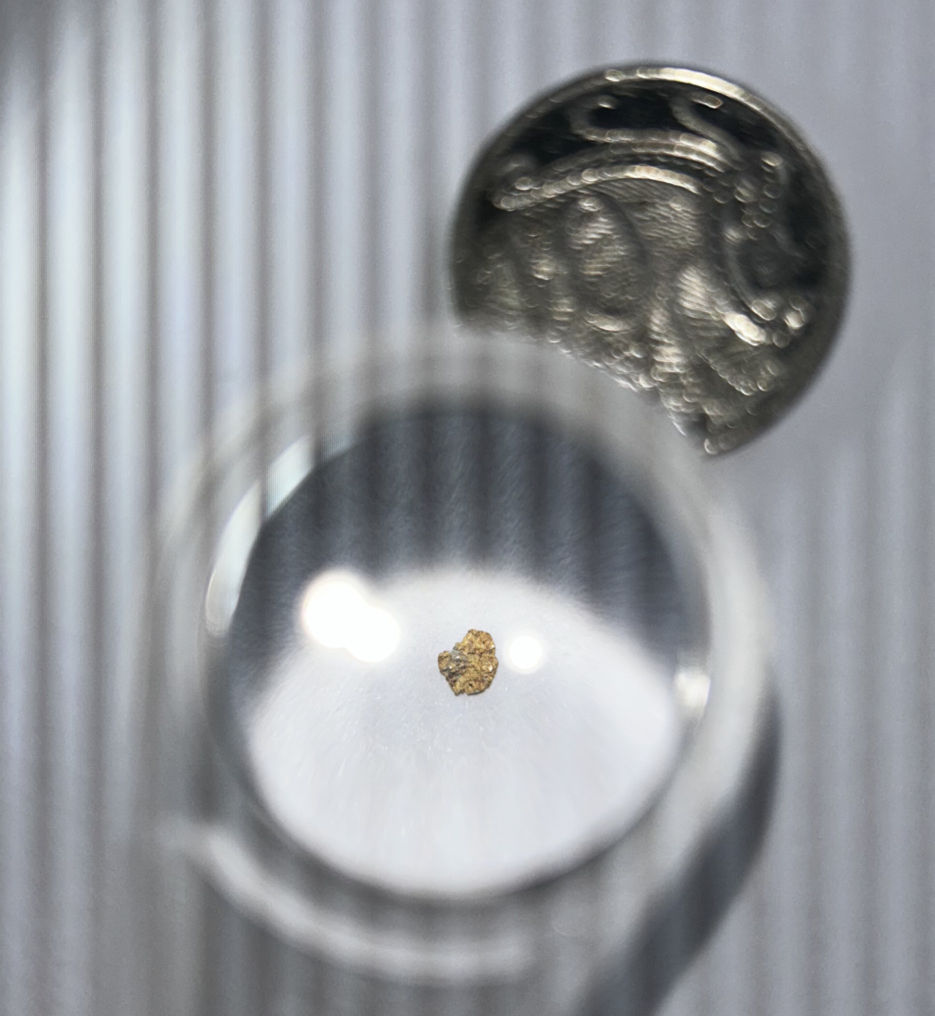
I think I may have finally found a fleck of gold.

It was tiny. Very tiny. Definitely not the head-sized dream nugget.

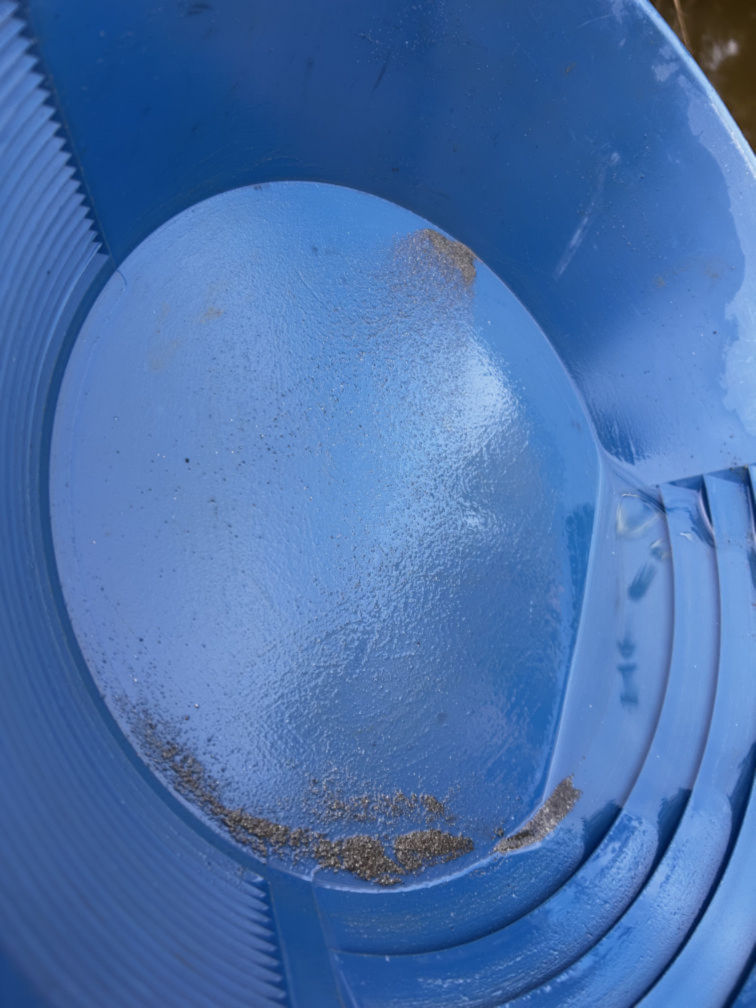
But it looked enough like gold to make me stop and pay attention, and I was able to isolate it fairly quickly in the pan. That was what made it feel different from the usual shiny distractions.

I am not going to claim it as confirmed gold with absolute confidence yet, but it is the closest thing I have found so far.
It is not magnetic, and it bends when pressure from a fingernail is applied.

For this stage of the journey, that felt like a real step forward.


The Metal Detector Distraction

One of the more interesting lessons from the day was that I may not have needed the metal detector at all.

It certainly found things. Unfortunately, those things were aluminium cans, part of an old baking tray, a bit of copper wire, and a chunk of rusty metal.

It added excitement every time it screamed, but that excitement usually ended with rubbish.

I am not ruling it out completely, but for this kind of sampling trip, the detector may have been more of a distraction than a useful tool.


Suspicious Shiny Silver Balls in the Sample
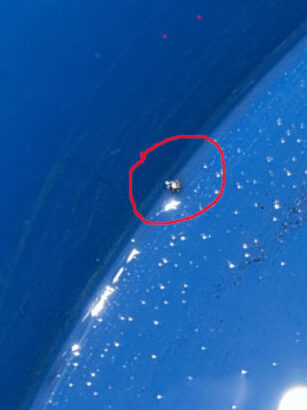
suspicious shiny silver balls

Site 3 also produced something I am treating very carefully.

In the sample bag I brought home, I noticed a number of very shiny silver-looking balls. They are different sizes, and I am not absolutely certain what they are.
They remind me of ball bearings – except they should not look so shiny and new, when everything else around it has been aged and weathered.

I am not claiming they are mercury.

But I am also not going to play around with them to find out.
The safest thing I can do, is coat them in sulfur. Until then, it will not be stored at room temperature, or dry. This should reduce the chances of those dangerous gases from being released and causing some serious harm.

I did not handle them in the field, and I will not be heating, crushing, smelting, or casually testing that material. For now, the sample is being treated as suspicious and kept separate.

Old gold areas can contain all sorts of unexpected material, including rusted metal, lead, glass, and possibly contamination from historical gold recovery. This was a good reminder that fossicking is not just about looking for shiny things. Sometimes the shiny thing is exactly what you should leave alone until you know more.


Interesting Quartz Pieces

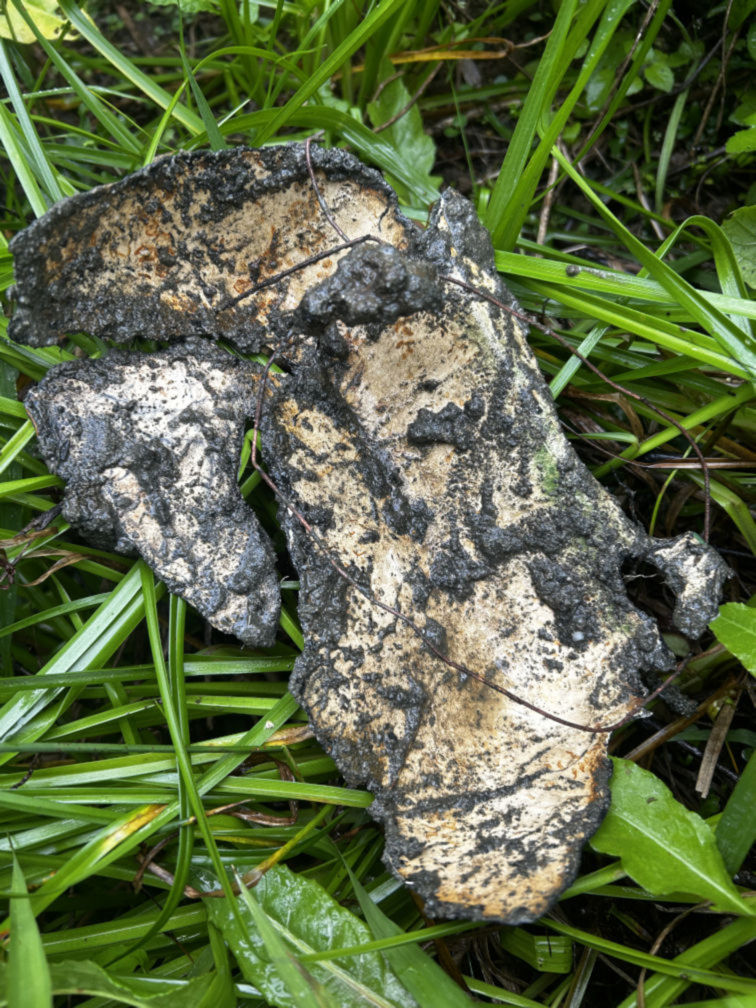
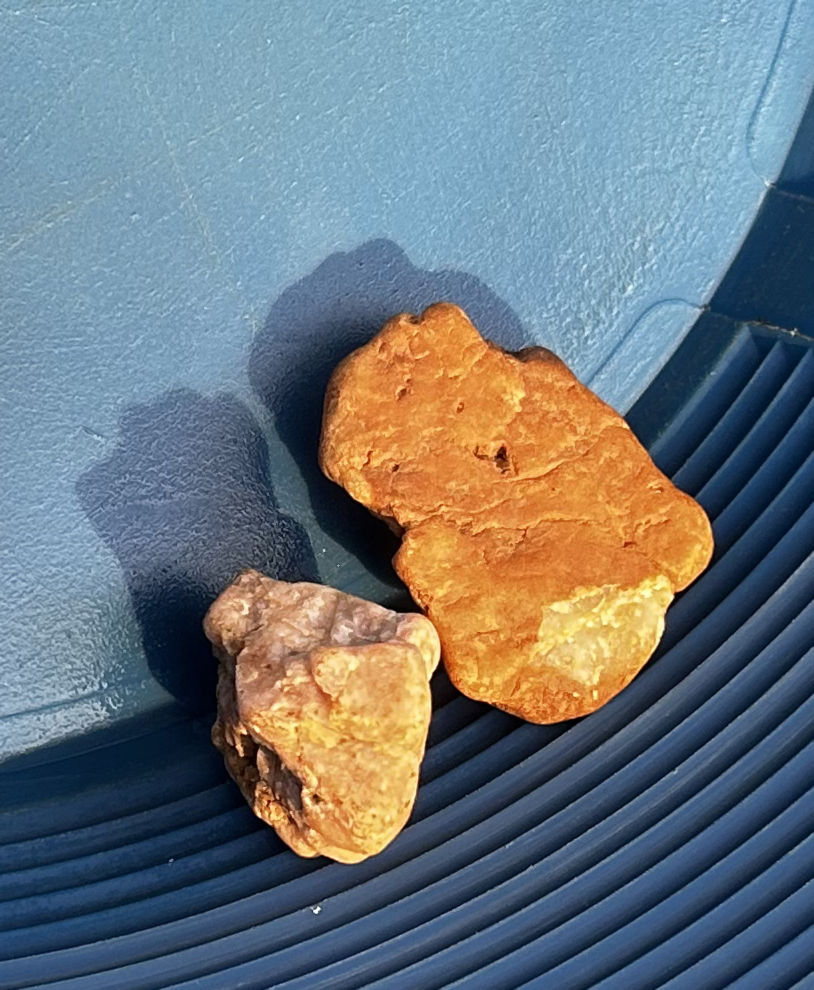
I also found a couple of quartz pieces that stood out because they looked different from what I had noticed on previous fossicking trips.

One piece was a light pink colour. The other was very dark orange on the outside, but where a small chip came off, the inside was a much lighter orange.

I am not treating these as proof of gold. Quartz on its own does not mean gold is present.

But in an old gold area, interesting quartz is still worth documenting. At the very least, it helps me pay more attention to the type of ground I am working in, the staining, the weathering, and the material that keeps turning up in different areas.

Taking the Rubbish With Me

One thing I did make sure of during the day was that the rubbish I found did not stay there.

The detector did not find gold, but it did help me find rubbish. The cans, hook and sinker, baking tray piece, copper wire, and rusty metal were all taken with me for proper disposal.

It was not the treasure I was hoping for.

But removing rubbish from the area still felt like a worthwhile result.

If I am going to spend time in these places, take photos, sample material, and write about the process, then I should also leave the area a little better where I can.


What Made the Day Productive

On paper, the day was not especially fruitful.

I did not come home with the dream nugget. I did not fill a vial with gold. I did not even confirm the possible fleck yet.

But the more I think about it, the more useful the day actually was.

I tested three locations properly. I took photos. I brought home concentrates to check more carefully. I found one possible fleck of gold. I learned that the detector may be more distracting than helpful for this type of trip. I noticed quartz I had not seen before. I removed some rubbish. And I was reminded to treat unknown shiny material with caution.

That is a productive day, even if it does not look dramatic.


What I Would Do Differently Next Time

The biggest thing I would change next time is my expectation of time.

One hour per site sounds reasonable until I actually try to inspect, sample, photograph, pan, check, bag, and clean up properly. Three sites may already be enough for one trip if I want to do them properly.

I would also be more deliberate with sample labelling, take more close-up photos of the final concentrates, and think carefully about whether the metal detector is worth carrying unless I am specifically doing a detector-focused outing.

The other obvious lesson is to keep unknown material separate and not rush into processing anything that looks suspicious.


Final Thoughts: Not the Nugget, But Still a Step Forward

The dream nugget did not show up.

No head-sized lump of gold. No dramatic discovery. No life-changing moment in the bottom of the pan.

But I may have found my first real fleck of gold, and that feels like a much more realistic milestone for where I am in this process.

More importantly, I came home with better notes, more photos, a clearer idea of how long proper sampling takes, and a few lessons I would not have learned by sitting at home watching other people find gold online.

That is the point of this series.

Not instant success.

Not pretending I know more than I do.

Just learning gold the hard way, one small field test at a time.


Part of the Gold Experiment Series

This post is part of my ongoing gold fossicking and smelting experiment series:

Learning Gold the Hard Way: Fossicking, Smelting, and Small-Scale Experiments

You can follow the full progress log on the main hub page, where I will continue adding updates as the experiment develops.

Posted on Leave a comment

My First Gold Smelting Attempt: What Went Wrong and What I Learned

Yesterday I ran my very first gold smelting attempt.

I would love to say it ended with a neat little button of gold, sitting there like proof that I knew exactly what I was doing.

That is not what happened.

But that is also the point of this post – and probably this whole gold experiment series.

I am not documenting this because I have already mastered the process. I am documenting it because I am learning it from the ground up. That means the failures, the ugly results, the underwhelming first attempts, and the parts where I have to stop and admit that I clearly need to improve something before trying again.

This first smelting attempt was not what I would happily call a success.

But it was a start.

And sometimes the start is messy.


Where This Attempt Fits Into the Bigger Gold Experiment

This post is part of my ongoing project:

Learning Gold the Hard Way: Fossicking, Smelting, and Small-Scale Experiments

The broader goal is to learn the full process properly, from finding and collecting material through to processing, separating, testing, and eventually attempting small-scale smelting.

I am not approaching this as an expert.

I am approaching it as someone who is interested, curious, and willing to learn by doing – even when doing leads to less-than-glamorous results.

That is exactly what happened here.

This was my first real smelting operation, and it has already shown me that there is a large difference between understanding the idea of smelting and actually getting a good result from it.


The Goal of the First Smelt

The goal of this first attempt was fairly simple:

I wanted to see whether I could take gold-bearing material or concentrates and produce some kind of visible result from a small smelting process.

Not necessarily a perfect result.

Not even necessarily a clean result.

Just something that would help me understand the process better.

I wanted to test the basic workflow:

  • Prepare the material
  • Add flux
  • Heat it properly
  • Allow the material to melt and separate
  • Cool it down
  • Inspect the result
  • Work out what went wrong or what needs improving

That was the plan.

The reality was not quite as straightforward.


The Material I Started With

For this first attempt, I used material that I had collected and processed from my fossicking efforts.

At this early stage, I am still learning how well I am actually preparing the material before it gets anywhere near a crucible.

That is already one of the biggest lessons from this attempt.

Smelting is not magic.

If the material going in is not properly prepared, concentrated, cleaned, or understood, then the result coming out is probably going to be confusing.

For this attempt, the material included:

  • Source material: panned concentrates collected from recent fossicking trips
  • Approximate amount: less than 100g
  • Visible gold before smelting: uncertain
  • Amount of black sand or heavy material: moderate
  • Preparation before smelting: concentrates were re-panned at home to further separate undesirable materials, magnet used in wet material to collect the magnetic materials, panned again and then placed into stainless steel pot to heat until completely dry.

Looking back, I suspect this is one area I need to improve before the next attempt.

I may have been too eager to get to the smelting stage before I had properly refined and cleaned the material.

That is a very easy mistake to make, because smelting is the exciting part.

But the exciting part probably depends heavily on the boring preparation part.


The Setup

My setup for this first smelting attempt was basic.

That is not a complaint. It is just the truth.

I am not using professional refining equipment or a commercial setup. This is a small-scale learning process, and the equipment reflects that.

For this attempt, I used:

  • Crucible: 3kg graphite crucible
  • Flux: homemade anhydrous borax, soda ash (sodium carbonate); 25% of raw material each
  • Heat source: ToAuto 3kg electric furnace
  • Safety gear: fire-safe area, metal-working table, long-sleeved leather gloves, leather apron, safety glasses, steel-cap workboots, breathing mask, outdoor environment
  • Cooling method: steel bucket containing cold water
  • Mould or receiving surface: graphite moulds

The setup was enough to run the attempt, but I am not yet convinced it was enough to run the attempt well.

That distinction matters.

It is one thing to get material hot.

It is another thing entirely to get the right material hot enough, for long enough, in the right conditions, with the right preparation and flux balance.

That is where I still have a lot to learn.


What Happened During the Smelt

Once everything was set up, I added the prepared material and flux to the crucible and began heating.

At first, things looked promising enough.

The material responded to the heat, and there were visible changes as the process continued. But as the attempt went on, it became clear that I was not heading toward the clean result I had imagined.

The first observations I noticed as the temperature was rising, was the foul-smelling brownish-yellow smoke coming from the top of the furnace. It was very much like a rotten egg smell – an indication of sulfides.
I am extremely glad that I was outside performing this smelt, and that I had a breathing apparatus handy. The gas emitted, was Hydrogen Sulphide, which is quite toxic.

As the smelt progressed, the smoke coming from the top vent on the furnace lessened, which I took to be a good sign that it had burnt off.

I commenced preheating the graphite moulds with a butane torch, along with a graphite stirring rod.

Once it had been sitting on 1100 degrees Celcius for around 10 minutes, I opened the top and stirred it with the graphite rod, and then closed it back over.

I then proceeded to pour the contents of the crucible into the mould.

Instead of a clear separation and an obvious metallic button, the result was more uncertain.

The material appeared to very quickly turn from an orange-red colour to a dark red and grey colour, allowing no time at all to perform a hot separation process.
I flipped the experiment onto a steel plate and picked it up with steel tongs, quickly submerging it into the cold water.
There was no satisfying pop, sizzle, or anything remotely like that.

Instead, the mass simply crumbled and sunk to the bottom of the bucket, turning the water a black colour as it did so.
And the smell – it was back seemingly worse than before!
The respirator went back on, and I then recovered as much of the crumbled glass material as possible, washing and panning and rinsing the material until the water was much clearer than ‘black’.
The washed material is now set aside, drying so that I can crumble the glass back down into a powder to be smelted again – with higher flux ratios to account for the sulfides within the concentrates.

These were the moments where the difference between “watching smelting videos” and “actually doing it yourself” became very obvious.

In a successful-looking smelt, you expect some kind of confidence in the outcome.

In this attempt, I mostly ended up with questions:
Was there not enough gold in the material?
Was the material not clean enough?
Was the heat insufficient?
Was the flux wrong?
Was the ratio wrong?
Did I rush the process?
Did I misunderstand what the input material actually contained?

At this stage, I do not have a perfect answer.

But I do have a result to learn from.

As a plus note, there does appear to be at least some gold in the glassy black mess. I can see some flecks, but it does not seem like they got to a molten state.


The Result

The final result was not a clean little gold button.

That would have been nice.

Instead, I ended up with sludge and glass mixture that possibly contains small metallic-looking specks.

It was not useless, though.

A failed result still gives information.

It told me that my process needs work. It also reminded me that the quality and preparation of the material before smelting is probably more important than I wanted to admit going in.

The result may not have looked impressive, but it has given me a baseline.

This is attempt number one.

From here, I can compare future attempts against it.

If the next result is cleaner, I will know I improved something.

If the next result is just as bad, I will know I still have a deeper issue to solve.

Either way, the process now has a starting point.


What I Think Went Wrong

I do not want to pretend I know exactly what went wrong yet.

But I do have a few likely suspects.

1. The material may not have been prepared well enough

This is probably the biggest one.

I may need to spend more time separating, cleaning, drying, and concentrating the material before attempting another smelt.

If too much unwanted material is going into the crucible, then I am making the smelting stage harder than it needs to be.

2. There may not have been enough gold in the sample

This is the very unromantic possibility.

Maybe the material simply did not contain enough gold to produce a visible result.

That is not failure by itself. It just means I need to test better samples and not assume that heavy material automatically equals a worthwhile smelt.

3. The heat may not have been right

Smelting is not just about applying heat.

The material needs to reach the correct temperature and stay there long enough for the process to work properly.

If the heat was too low, uneven, or not sustained for long enough, that could explain part of the result.

4. The flux mix may need improvement

Flux is one of those areas where I clearly need to learn more.

The wrong amount, wrong type, or wrong balance could easily affect how well the material melts, separates, and forms slag.

For this first attempt, I was mainly trying to get the process moving.

For the next attempt, I need to be more deliberate.

5. I may have rushed into smelting too early

This might be the most honest answer.

I wanted to try the smelting stage.

That is understandable.

But I may have jumped ahead before the material was ready.

The next attempt should probably start much earlier in the process, with better preparation and better observation before anything goes into the crucible.


What I Learned From This First Attempt

Even though this first smelting attempt was not a success in the way I had hoped, it was still useful.

The main lessons so far are:

  • Smelting is not a shortcut around poor preparation
  • Concentrates need to be properly cleaned and understood
  • A visible result depends heavily on what is actually in the sample
  • Heat, flux, and timing all matter
  • A failed first attempt is still a useful reference point
  • I need to slow down and improve the steps before the smelt

The biggest lesson is probably this:

The smelting stage is only as good as everything that happens before it.

That feels obvious now.

It did not feel quite as obvious before I tried it.


What I Will Change Next Time

Before I run another smelting attempt, I want to improve the preparation stage.

The next attempt should include:

  • Better classification of the material
  • More careful panning and separation
  • Less unwanted material going into the crucible
  • A clearer idea of whether visible gold is present
  • Better notes on sample size and source
  • More deliberate flux use
  • More careful observation of heat and melt behaviour
  • Photos or video at each stage, if practical

I also want to keep better records.

For the next smelt, I should be able to write down:

  • Where the material came from
  • How it was processed
  • How much material was used
  • What flux was used
  • How long it was heated
  • What the material looked like during the process
  • What the final result looked like
  • What changed compared to this first attempt

That way, this becomes more than just “try again and hope”.

It becomes a proper learning process.


Was This First Smelt a Failure?

Yes and no.

If the goal was to produce a clean gold result, then yes, this attempt failed.

If the goal was to begin learning the process, then no, it did exactly what a first attempt often does.

It showed me that I do not yet know enough.

It exposed weak points in my setup and preparation.

It gave me questions to answer before the next attempt.

And it gave this whole series a very honest beginning.

That is probably better than pretending everything went perfectly.


The Honest Starting Point

There is something fitting about starting this gold experiment with a failed smelt.

Gold has a reputation for being shiny, valuable, and exciting.

But the process of getting it, cleaning it, separating it, and trying to turn it into something useful is not always shiny at all.

Sometimes it is dirt.

Sometimes it is black sand.

Sometimes it is slag.

Sometimes it is a disappointing lump that makes you question what you actually did.

But that is the process.

And this is where mine begins.


Next Step

The next step is not simply to smelt another batch and hope for a better result.

The next step is to go backwards.

Back to the material.

Back to the concentrates.

Back to the preparation.

Before I attempt another smelt, I need to make sure the sample going into the crucible is actually worth smelting and has been prepared properly.

That will likely be the focus of the next update.

For now, this first attempt stands as the beginning of the record.

Not a success.

Not a disaster.

Just the first real step in learning gold the hard way.


Part of the Gold Experiment Series

This post is part of the jaysndees ongoing gold fossicking and smelting experiment series:

Learning Gold the Hard Way: Fossicking, Smelting, and Small-Scale Experiments

You can follow the full progress log on the main hub page, where I will continue adding updates as the experiment develops.