The night before this fossicking trip, I had a dream that I was panning in a specific section and found a gold nugget about the size of my head.
That did not happen.
Not even close.
What I may have found instead was a tiny fleck of gold – which is much less dramatic, but probably far more believable.
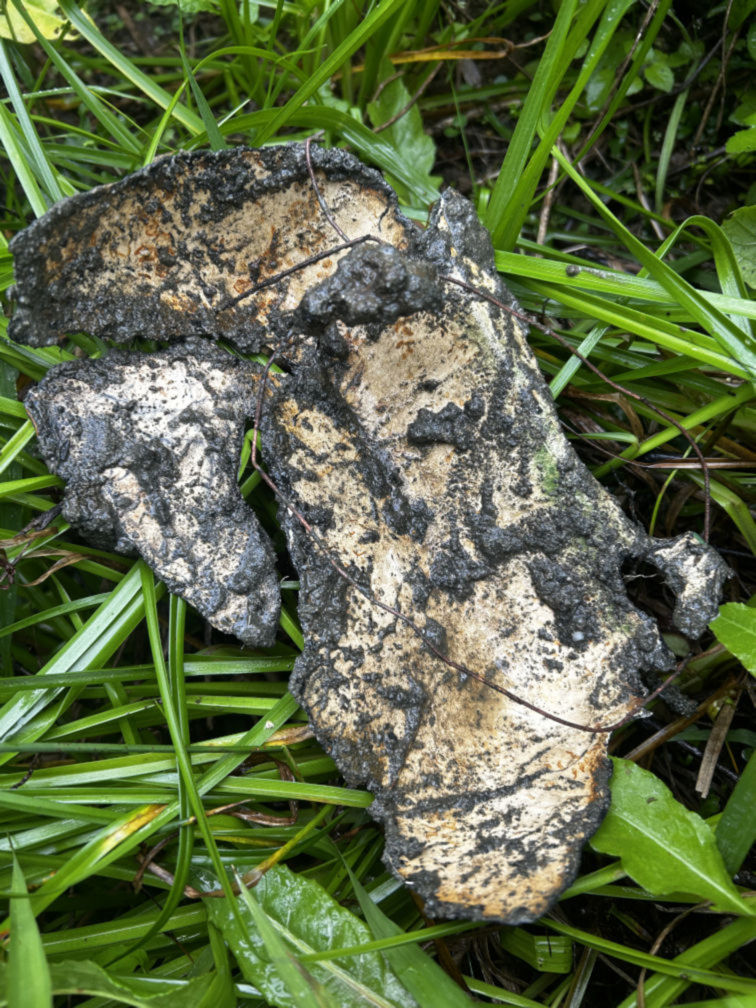
I also found part of an old baking tray, some copper wire, a rusty chunk of metal, a hook and sinker, a few cans, some interesting quartz, and possibly something that needs to be treated very carefully.
So no, it was not the dream nugget.
But it was still a very useful day.
Where This Attempt Fits Into the Bigger Gold Experiment
This outing is part of my ongoing gold fossicking and smelting experiment series: Learning Gold the Hard Way: Fossicking, Smelting, and Small-Scale Experiments.
After my first smelting attempt, it became obvious that the material preparation stage matters a lot. So this trip was not just about chasing gold. It was about looking more carefully at where I sample, how long each site actually takes, what kind of material I bring home, and whether any of it is worth processing further.
The Original Plan
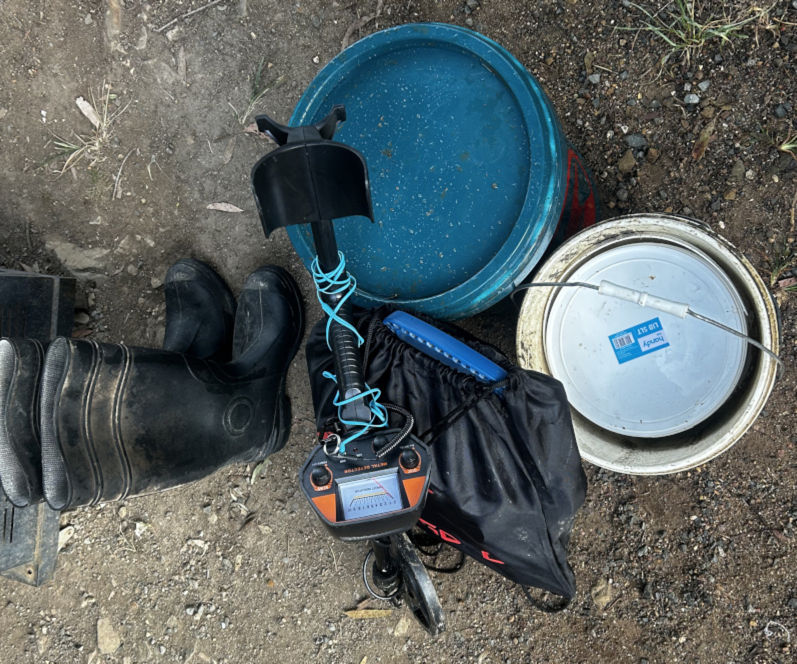
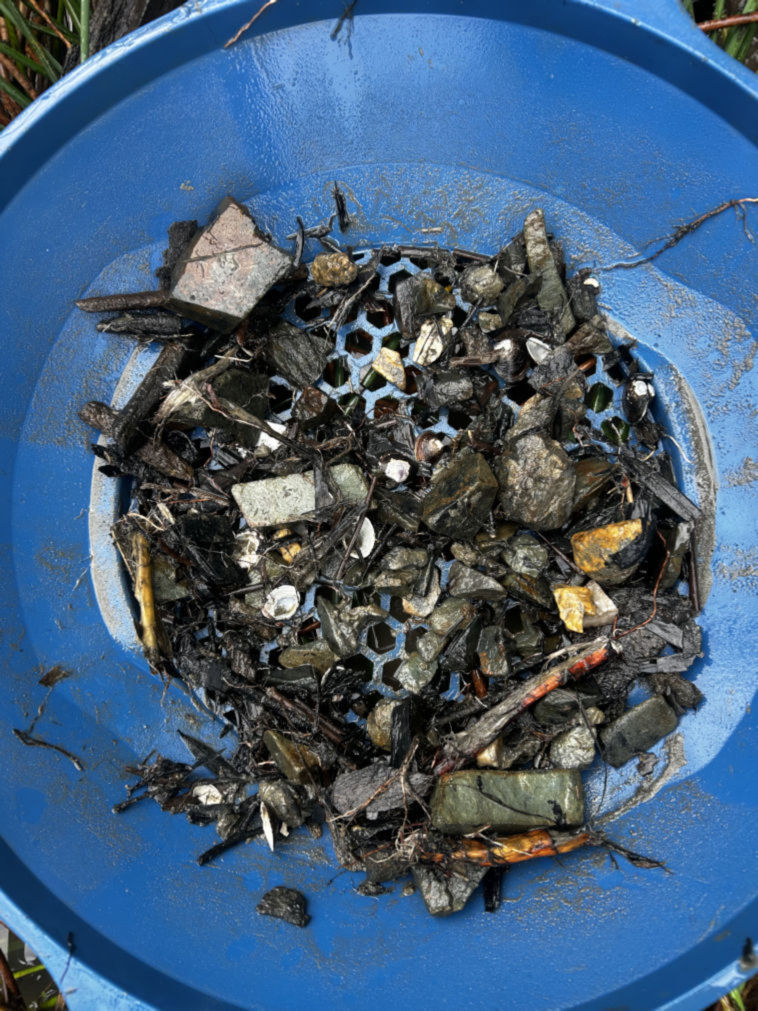
My original plan was to visit a few different areas and spend roughly an hour sampling each one. I packed the basic kit: pan, classifiers, screwdriver, prybar, vials, snuffer bottle, shovels, buckets, the cheap metal detector, and a small hand-cranked blower for clearing loose leaves from cracks and crevices.
I also took my phone, because I expected the day would probably become part of this series whether I found anything or not.
I quickly realised that properly sampling, photographing, panning, checking, and recording even one location takes longer than I expected.
The Actual Day: Slower, More Focused, and More Useful
As usual, the plan changed once I was actually out there.
Instead of trying to rush through too many spots, I ended up focusing on three locations that I had either not visited before or had not spent much time at. I will refer to them here simply as Site 1, Site 2, and Site 3.
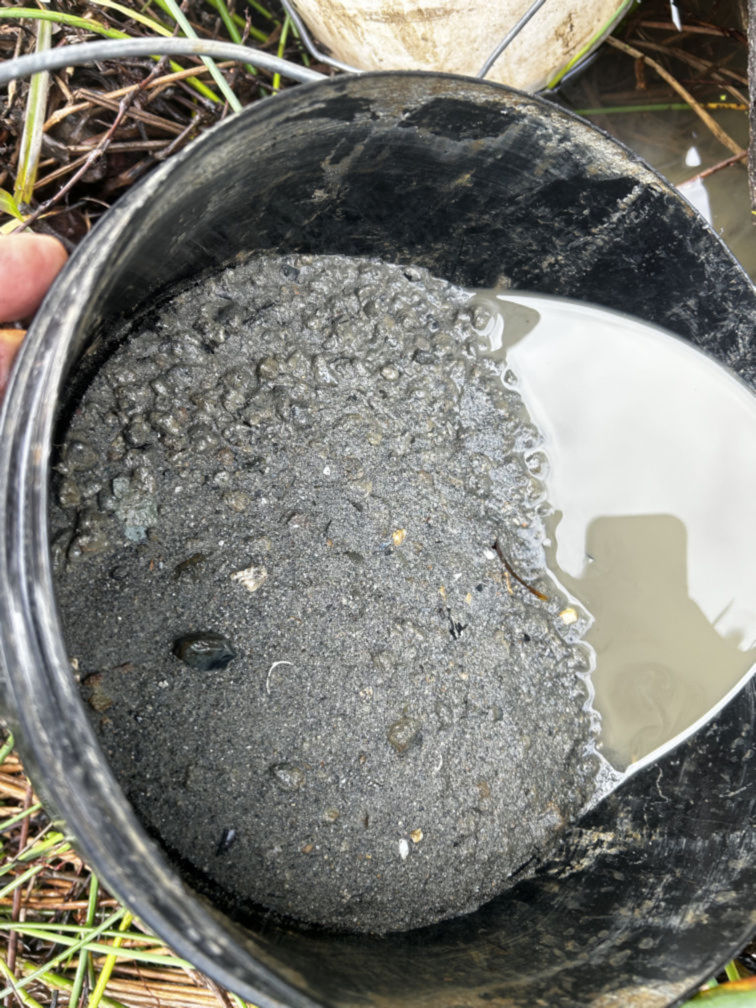
That turned out to be the better decision. Properly checking even one location takes longer than I expected. By the time I had looked around, taken photos, collected material, classified it, panned it down, checked the results, and bagged concentrates for later, an hour disappeared very quickly.
Why I Am Keeping the Locations General
I am deliberately keeping the locations general in this post.
Instead of naming exact spots, I will refer to them as Site 1, Site 2, and Site 3. The point of this series is to document the learning process, not to send people to specific patches of ground to dig up.
Some areas already show signs of being heavily worked, and I do not want to add to that problem by turning this into a location guide.
Site 1: Detector Distractions and No Obvious Gold
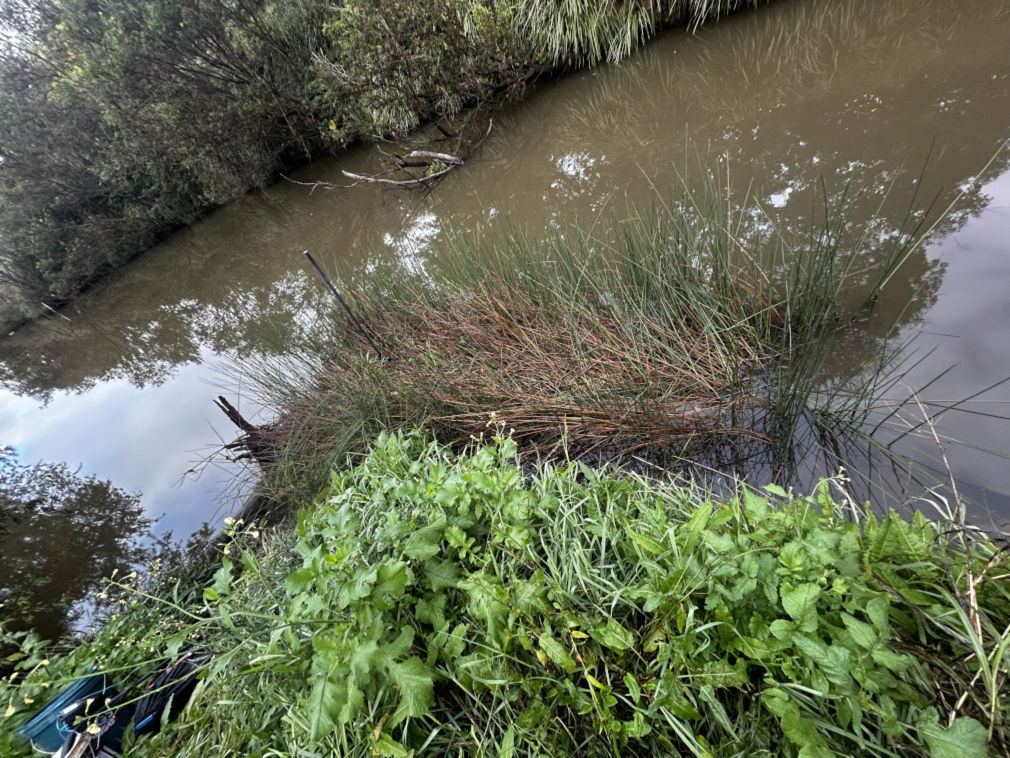
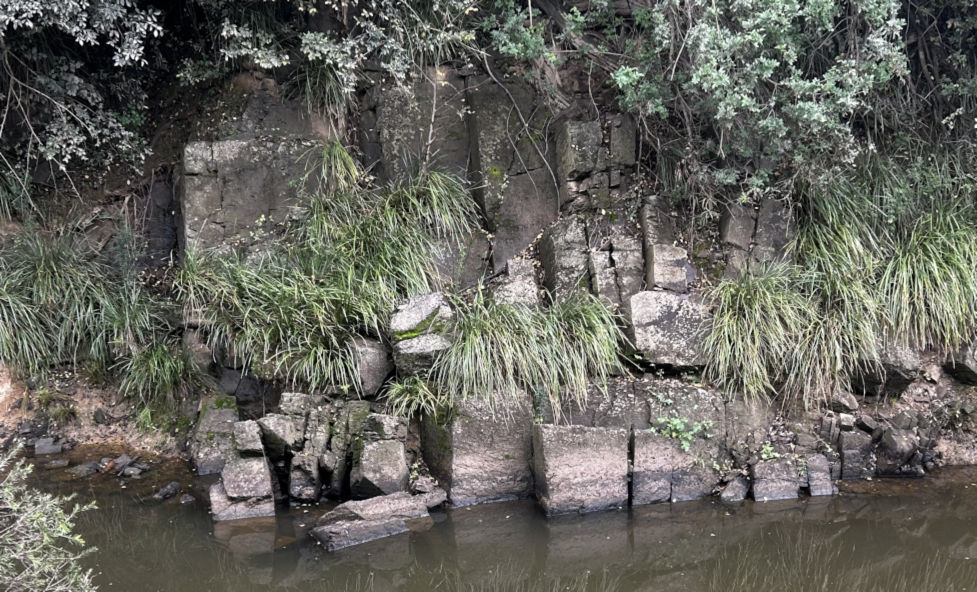
This particular site was chosen due to some of the stereotypical features that are seen to capture gold – inside bend, well-rooted vegetation, clay areas, submerged logs, multiple low pressure areas.
Site 1 did not produce anything significant while I was there.
I still have a small bag of final concentrates from this site that I need to pan out properly at home, so I cannot completely write it off yet. But in the field, there was nothing that stood out as obvious gold.
The metal detector did get involved, though. It was very enthusiastic in finding things for me.
Unfortunately, it did not lead me to the dream nugget. It led me to part of an old baking tray, 2 aluminium cans and a piece of copper wire.
Not exactly treasure, but at least it proved the detector could find something.
Site 2: A Heavily Worked Common Area
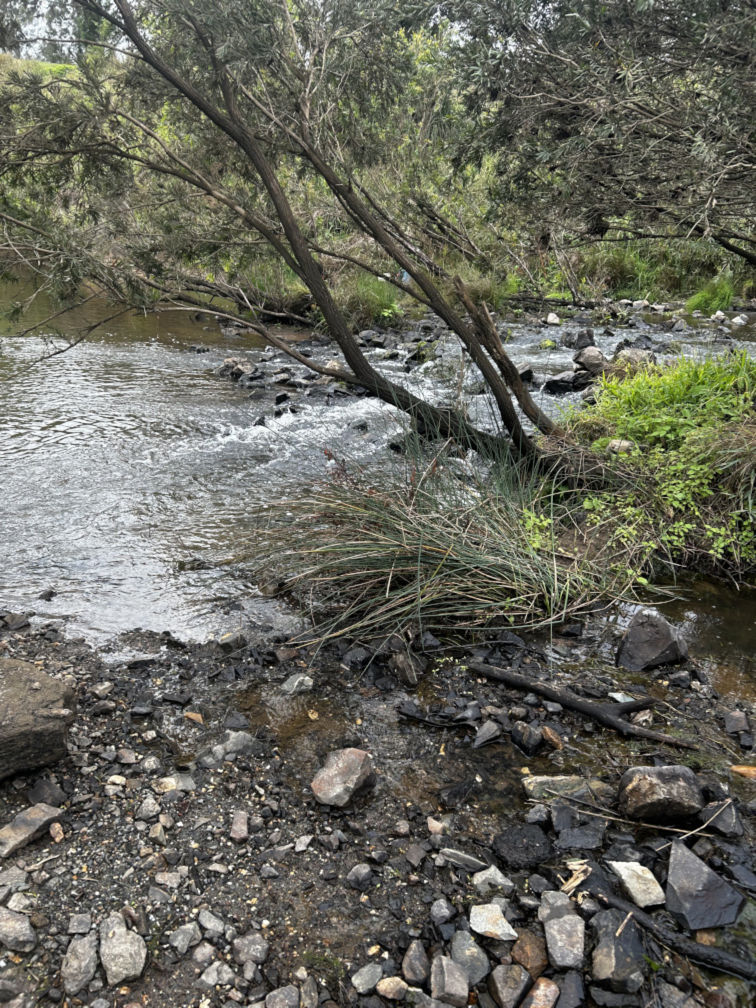
I investigated this area as it is one of the more easily accessible places. There is plenty of rocks of varying sizes, rapids and ripple systems, and enough vegetation to keep it interesting.
Site 2 looked like it had already seen a lot of attention.
There were signs of extensive sluice work, along with holes in creek banks. That was disappointing to see. Not just because heavily worked ground may be less likely to produce anything interesting, but because damaged banks and unfilled holes are exactly the kind of thing that gives fossicking a bad name.
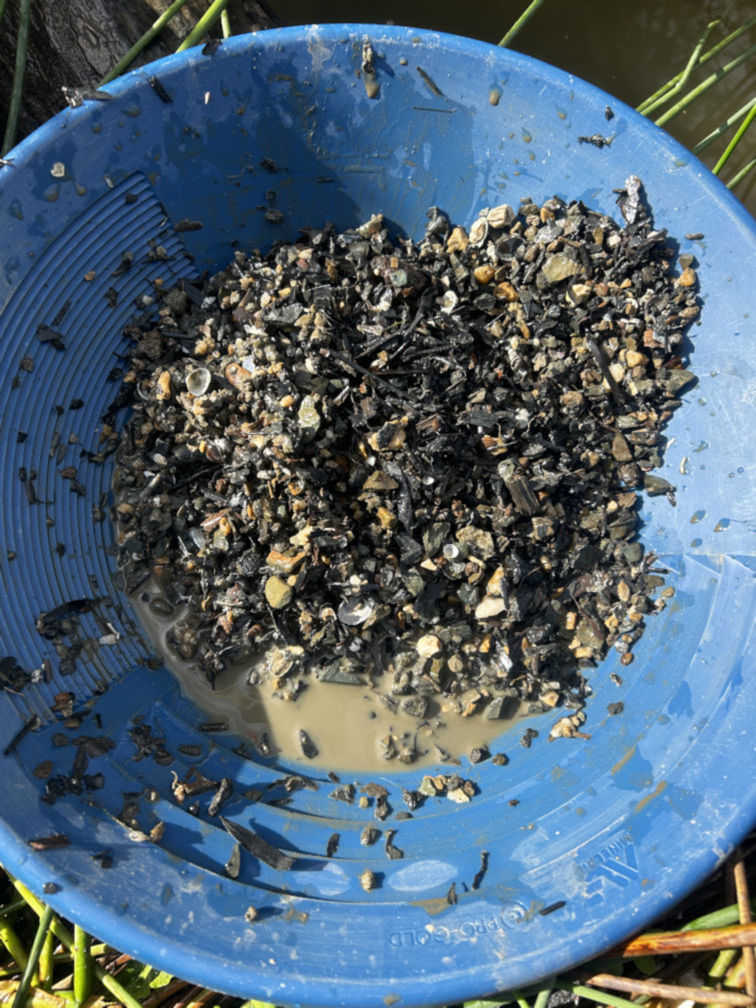
I did not find anything obvious there, but I still brought home a small bag of concentrates to check properly later.
At this stage, Site 2 feels like the least exciting of the three.
Site 3: The Most Interesting Site of the Day
Site 3 was easily the most interesting location of the day.
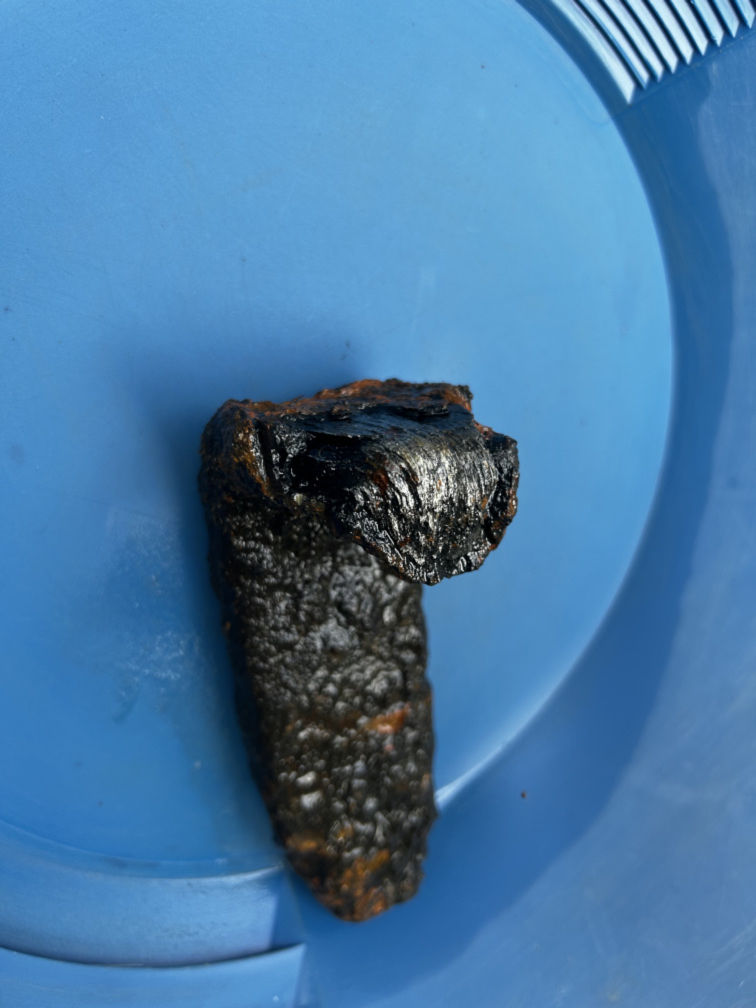
It started promisingly when the metal detector screamed at me. Naturally, that gave me a brief moment of hope. Maybe this was something interesting. Maybe this was the day’s first real find.
It was a chunk of old rusty metal.
So the detector had once again done its job, just not in the way I wanted.
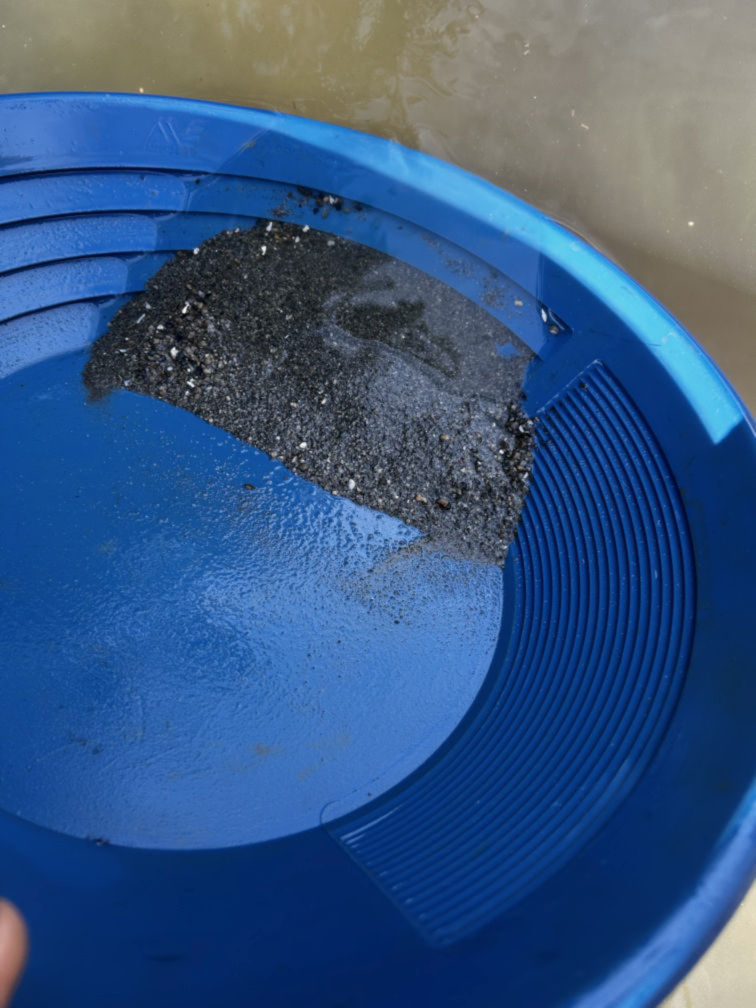
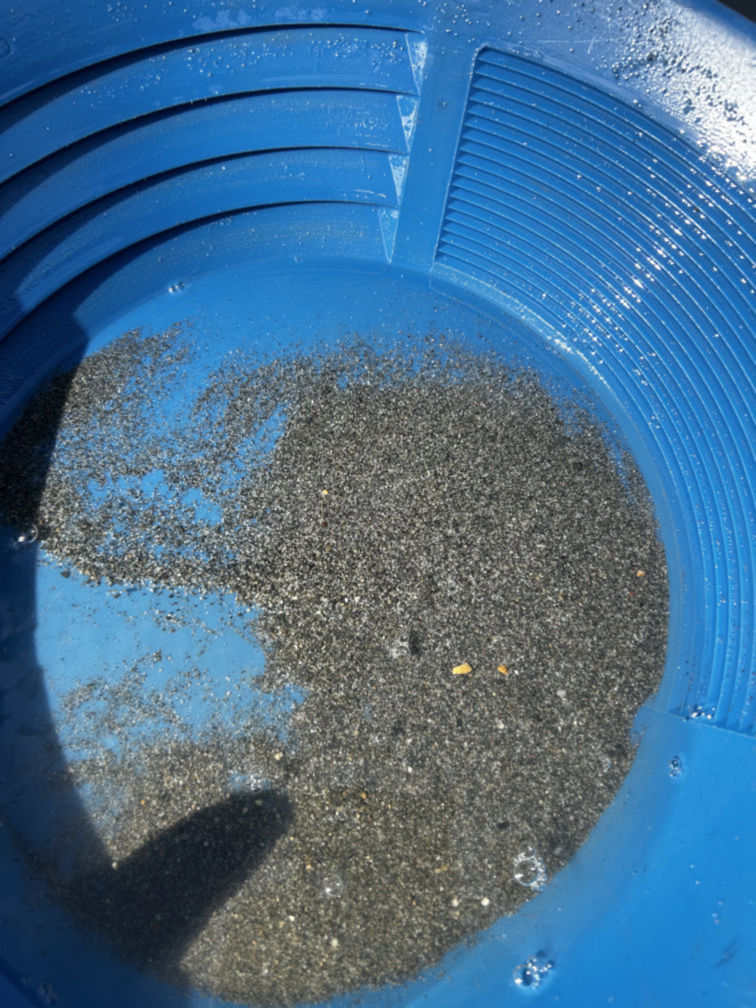
But Site 3 was still the site that made the day worthwhile. This was where I found the tiny possible fleck of gold, and it was also where I found the most interesting material overall.
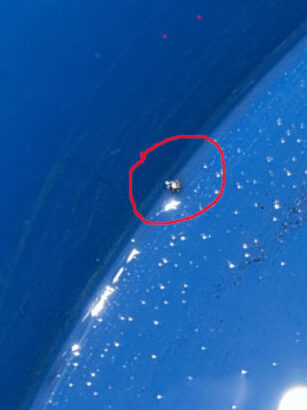
The Possible First Fleck of Gold
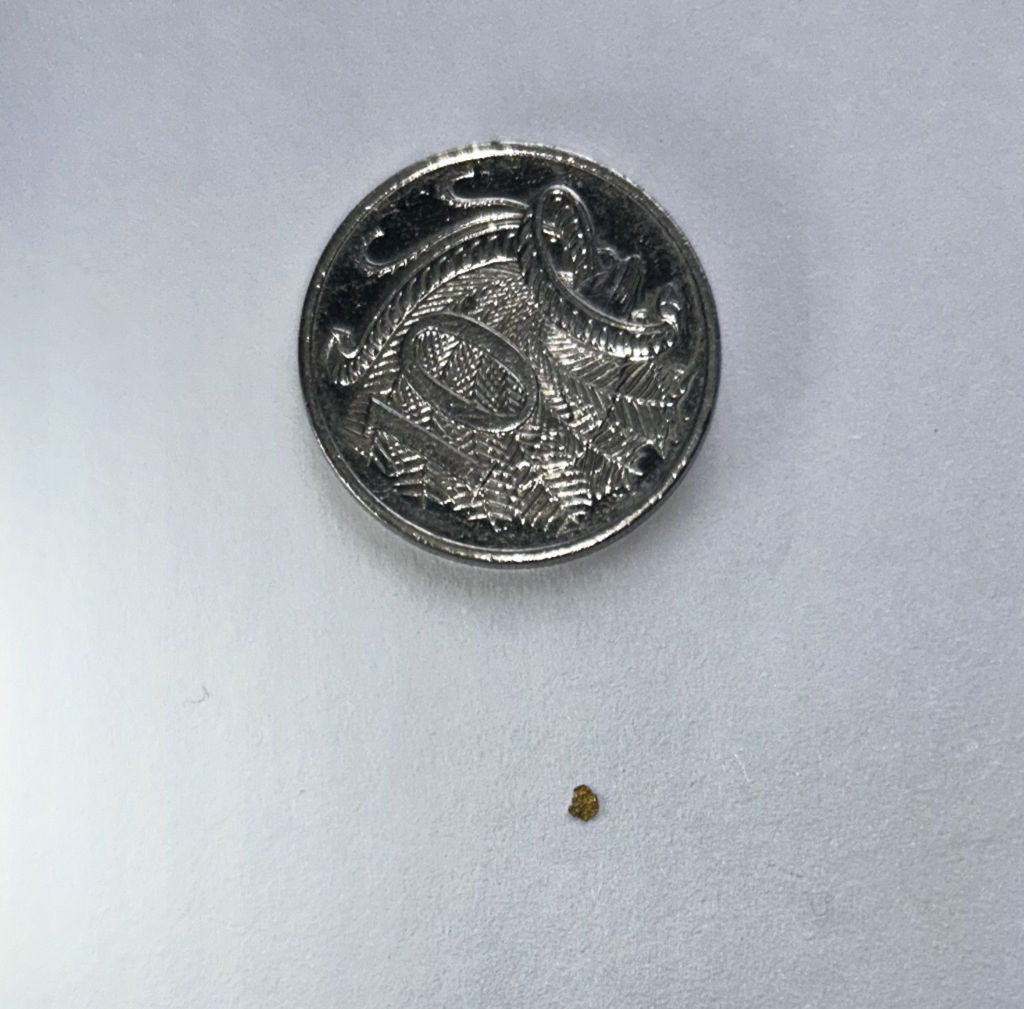
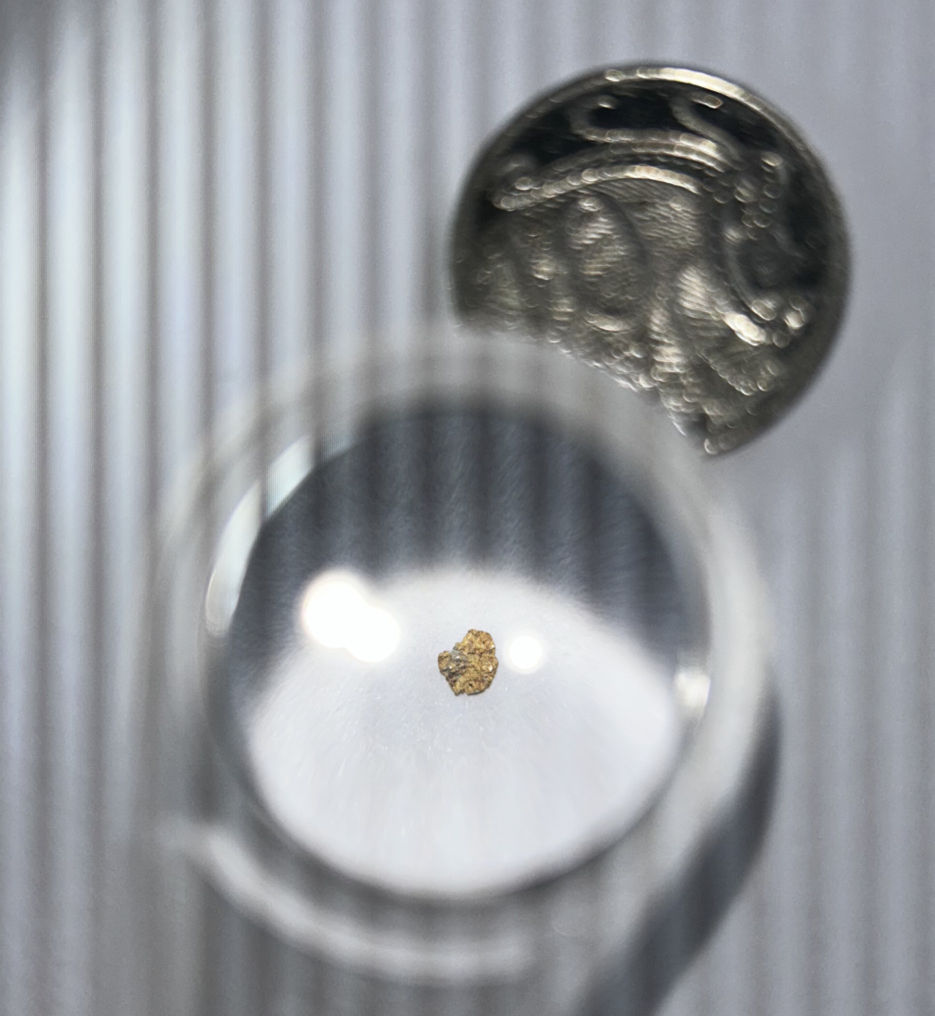
I am being careful with the wording here.
I think I may have finally found a fleck of gold.
It was tiny. Very tiny. Definitely not the head-sized dream nugget.
But it looked enough like gold to make me stop and pay attention, and I was able to isolate it fairly quickly in the pan. That was what made it feel different from the usual shiny distractions.
I am not going to claim it as confirmed gold with absolute confidence yet, but it is the closest thing I have found so far.
It is not magnetic, and it bends when pressure from a fingernail is applied.
For this stage of the journey, that felt like a real step forward.
The Metal Detector Distraction
One of the more interesting lessons from the day was that I may not have needed the metal detector at all.
It certainly found things. Unfortunately, those things were aluminium cans, part of an old baking tray, a bit of copper wire, and a chunk of rusty metal.
It added excitement every time it screamed, but that excitement usually ended with rubbish.
I am not ruling it out completely, but for this kind of sampling trip, the detector may have been more of a distraction than a useful tool.
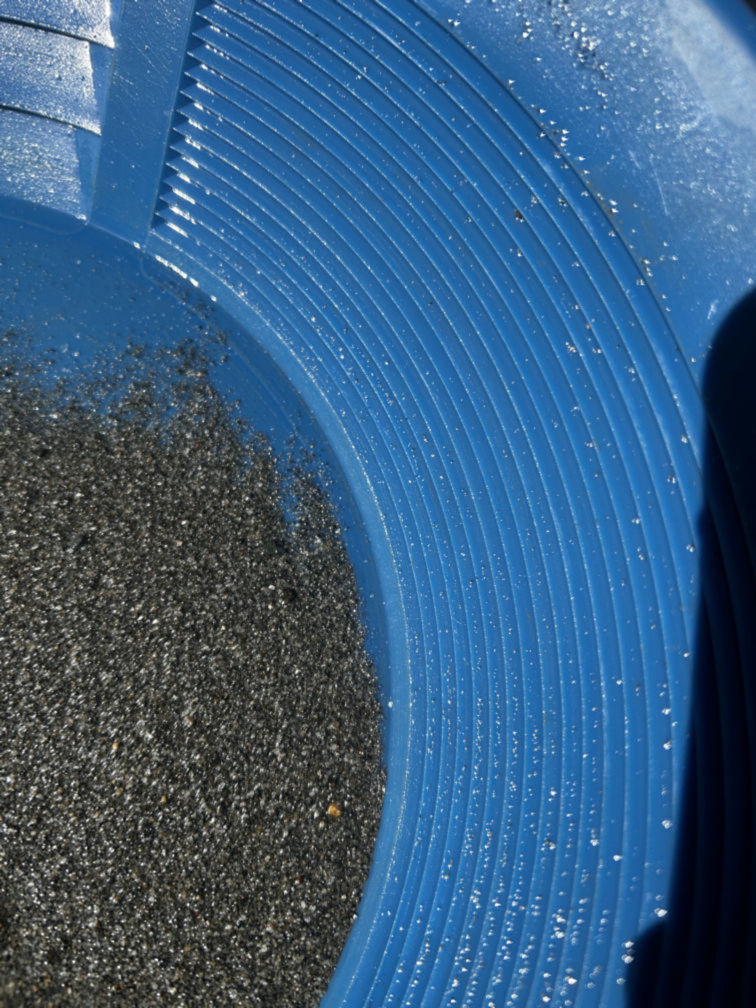
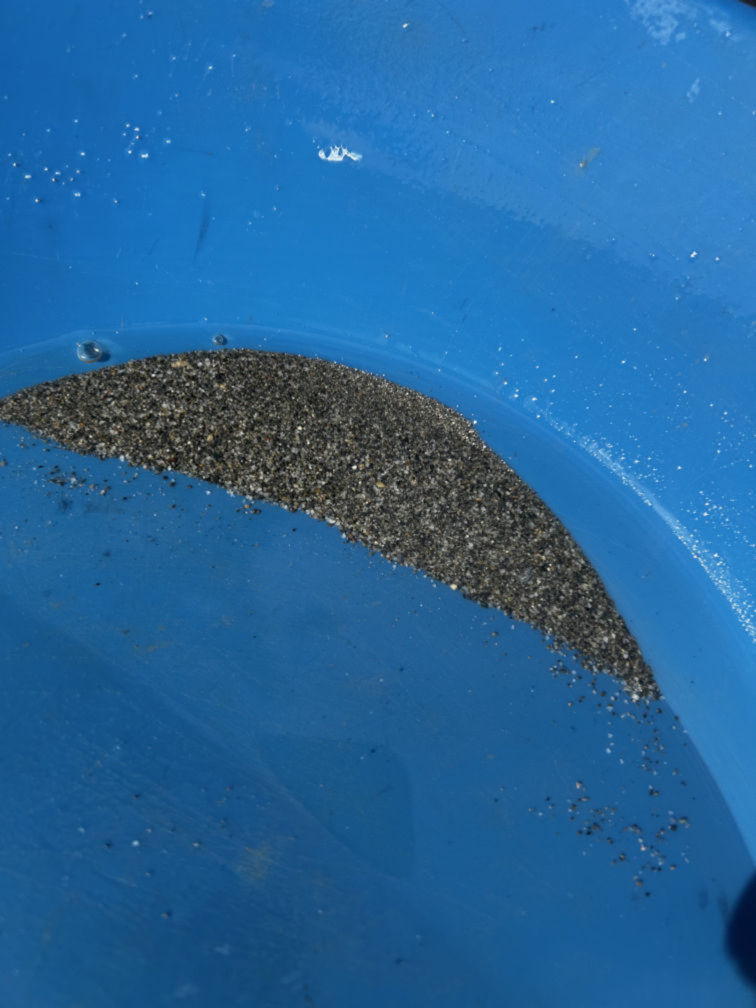
Suspicious Shiny Silver Balls in the Sample
Site 3 also produced something I am treating very carefully.
In the sample bag I brought home, I noticed a number of very shiny silver-looking balls. They are different sizes, and I am not absolutely certain what they are.
They remind me of ball bearings – except they should not look so shiny and new, when everything else around it has been aged and weathered.
I am not claiming they are mercury.
But I am also not going to play around with them to find out.
The safest thing I can do, is coat them in sulfur. Until then, it will not be stored at room temperature, or dry. This should reduce the chances of those dangerous gases from being released and causing some serious harm.
I did not handle them in the field, and I will not be heating, crushing, smelting, or casually testing that material. For now, the sample is being treated as suspicious and kept separate.
Old gold areas can contain all sorts of unexpected material, including rusted metal, lead, glass, and possibly contamination from historical gold recovery. This was a good reminder that fossicking is not just about looking for shiny things. Sometimes the shiny thing is exactly what you should leave alone until you know more.
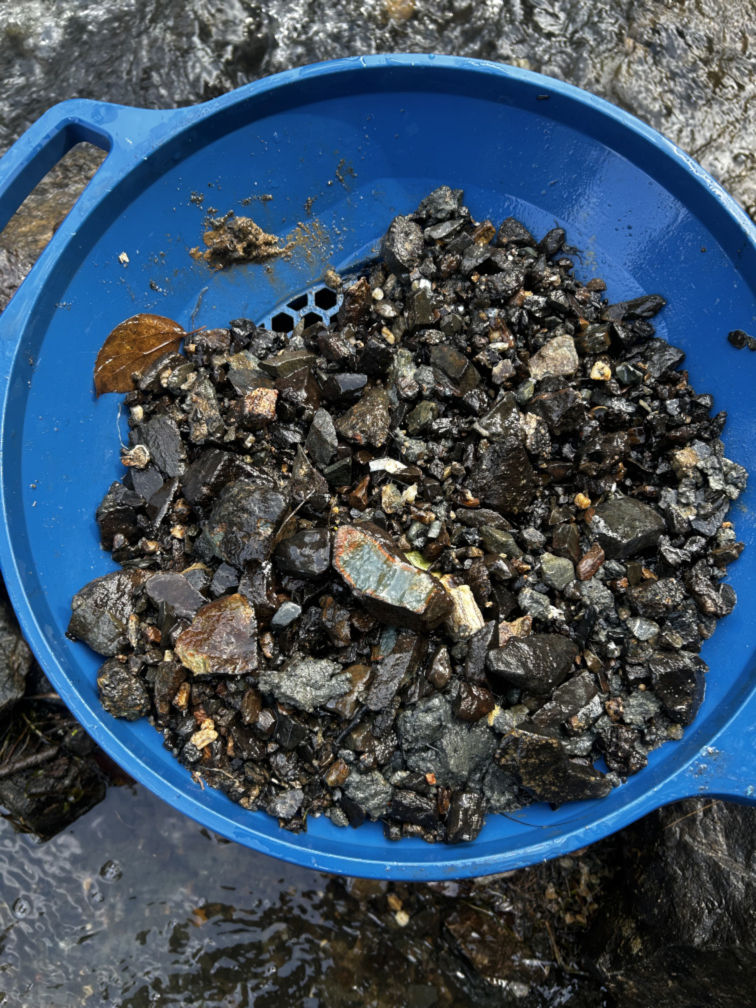
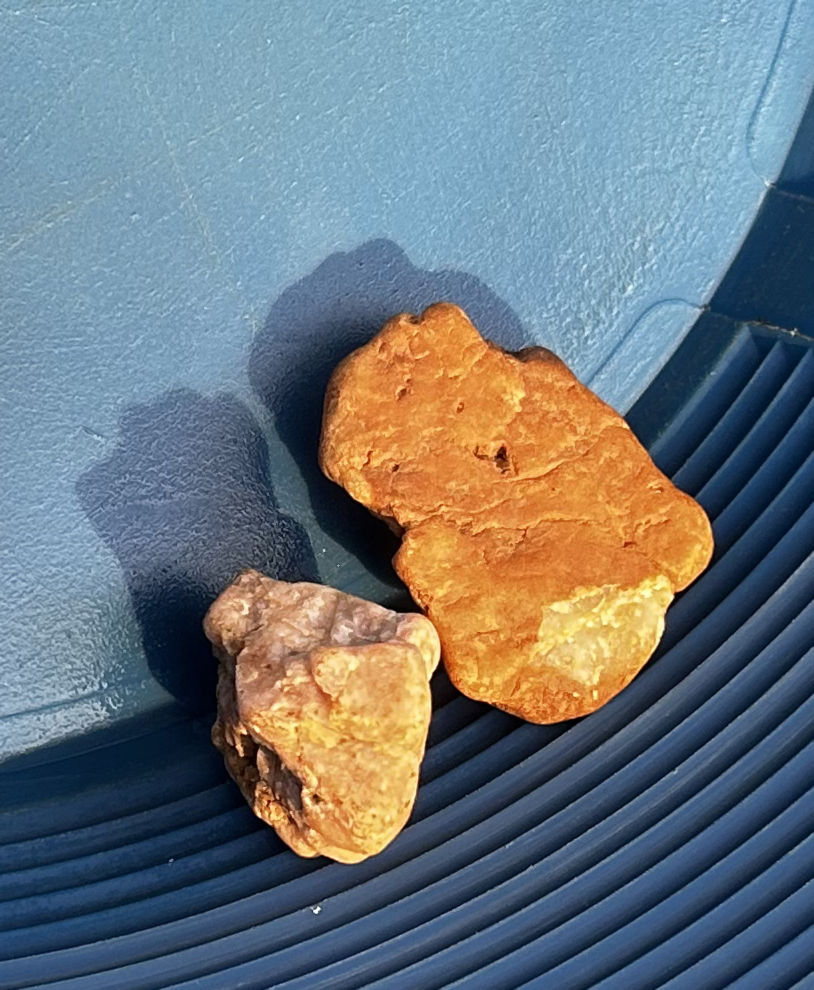
Interesting Quartz Pieces
I also found a couple of quartz pieces that stood out because they looked different from what I had noticed on previous fossicking trips.
One piece was a light pink colour. The other was very dark orange on the outside, but where a small chip came off, the inside was a much lighter orange.
I am not treating these as proof of gold. Quartz on its own does not mean gold is present.
But in an old gold area, interesting quartz is still worth documenting. At the very least, it helps me pay more attention to the type of ground I am working in, the staining, the weathering, and the material that keeps turning up in different areas.
Taking the Rubbish With Me
One thing I did make sure of during the day was that the rubbish I found did not stay there.
The detector did not find gold, but it did help me find rubbish. The cans, hook and sinker, baking tray piece, copper wire, and rusty metal were all taken with me for proper disposal.
It was not the treasure I was hoping for.
But removing rubbish from the area still felt like a worthwhile result.
If I am going to spend time in these places, take photos, sample material, and write about the process, then I should also leave the area a little better where I can.
What Made the Day Productive
On paper, the day was not especially fruitful.
I did not come home with the dream nugget. I did not fill a vial with gold. I did not even confirm the possible fleck yet.
But the more I think about it, the more useful the day actually was.
I tested three locations properly. I took photos. I brought home concentrates to check more carefully. I found one possible fleck of gold. I learned that the detector may be more distracting than helpful for this type of trip. I noticed quartz I had not seen before. I removed some rubbish. And I was reminded to treat unknown shiny material with caution.
That is a productive day, even if it does not look dramatic.
What I Would Do Differently Next Time
The biggest thing I would change next time is my expectation of time.
One hour per site sounds reasonable until I actually try to inspect, sample, photograph, pan, check, bag, and clean up properly. Three sites may already be enough for one trip if I want to do them properly.
I would also be more deliberate with sample labelling, take more close-up photos of the final concentrates, and think carefully about whether the metal detector is worth carrying unless I am specifically doing a detector-focused outing.
The other obvious lesson is to keep unknown material separate and not rush into processing anything that looks suspicious.
Final Thoughts: Not the Nugget, But Still a Step Forward
The dream nugget did not show up.
No head-sized lump of gold. No dramatic discovery. No life-changing moment in the bottom of the pan.
But I may have found my first real fleck of gold, and that feels like a much more realistic milestone for where I am in this process.
More importantly, I came home with better notes, more photos, a clearer idea of how long proper sampling takes, and a few lessons I would not have learned by sitting at home watching other people find gold online.
That is the point of this series.
Not instant success.
Not pretending I know more than I do.
Just learning gold the hard way, one small field test at a time.
Part of the Gold Experiment Series
This post is part of my ongoing gold fossicking and smelting experiment series:
Learning Gold the Hard Way: Fossicking, Smelting, and Small-Scale Experiments
You can follow the full progress log on the main hub page, where I will continue adding updates as the experiment develops.