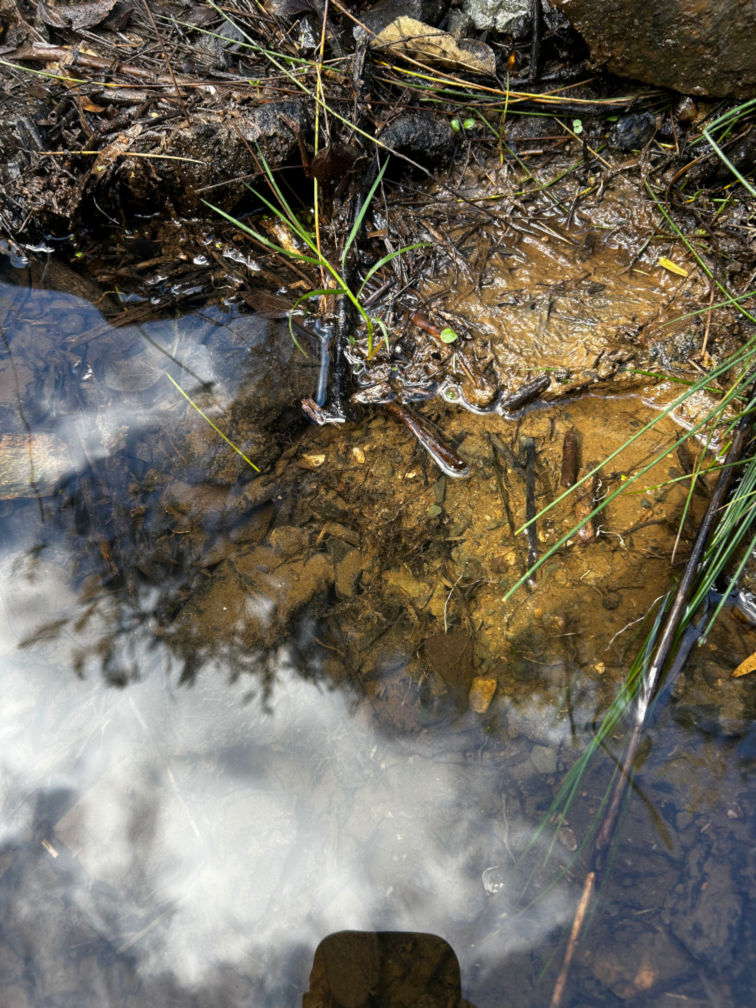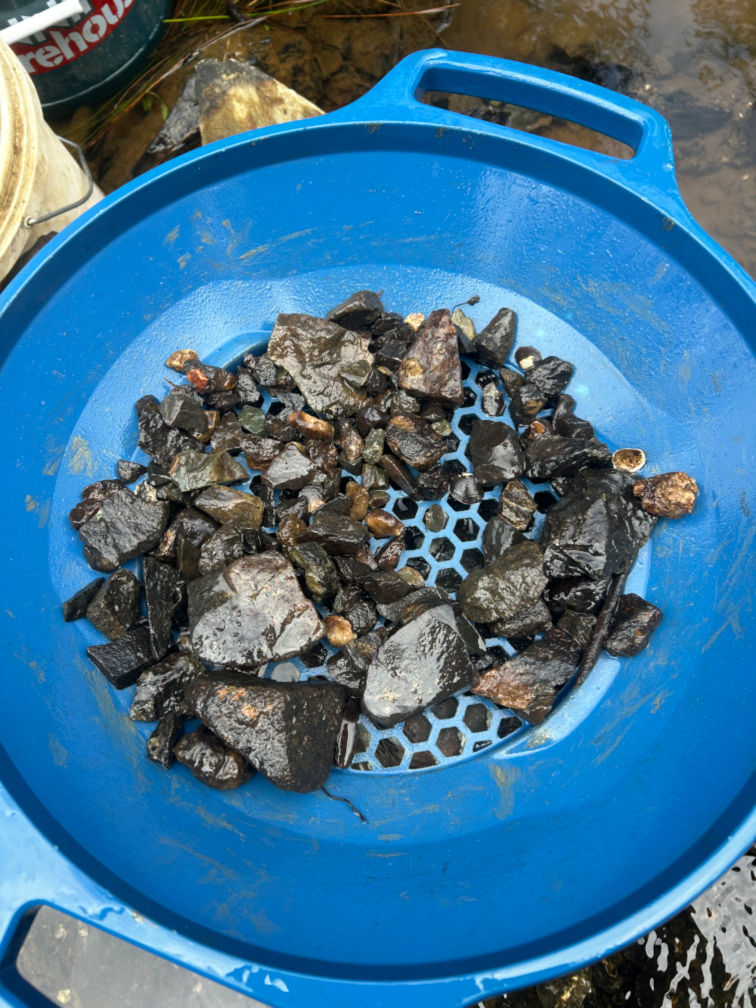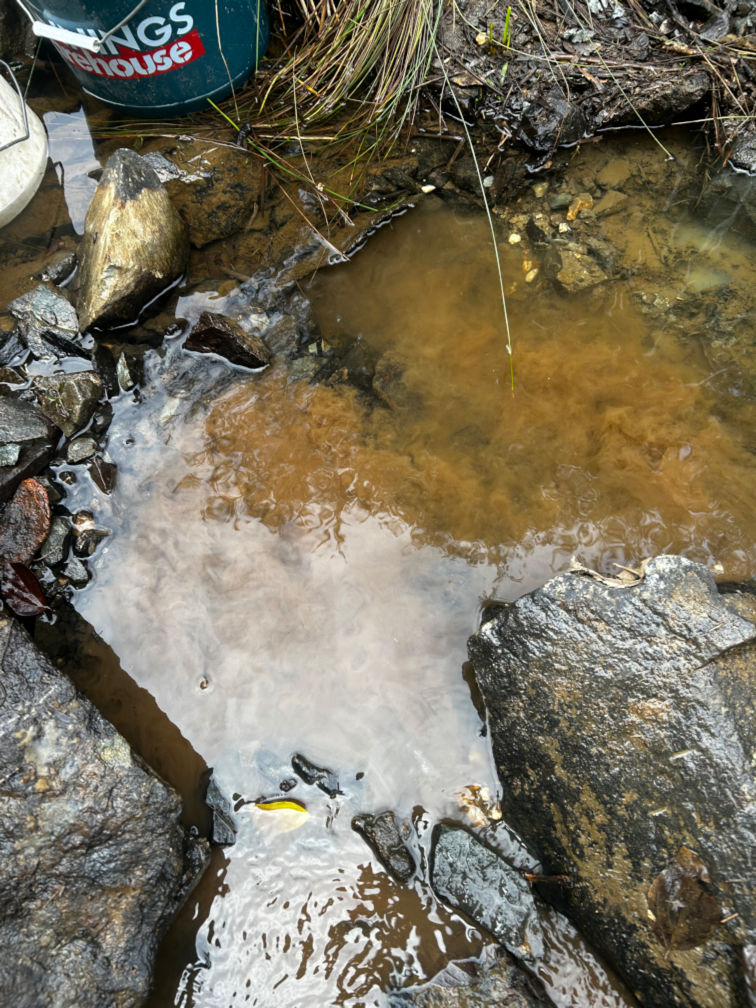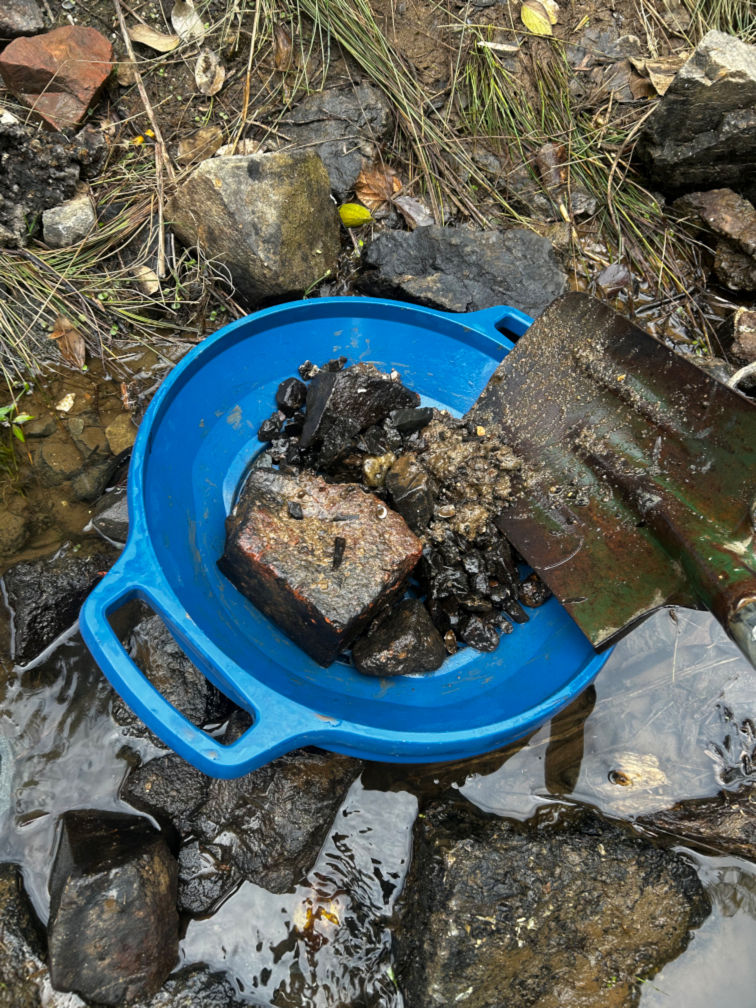
I am keeping this location unnamed for now.
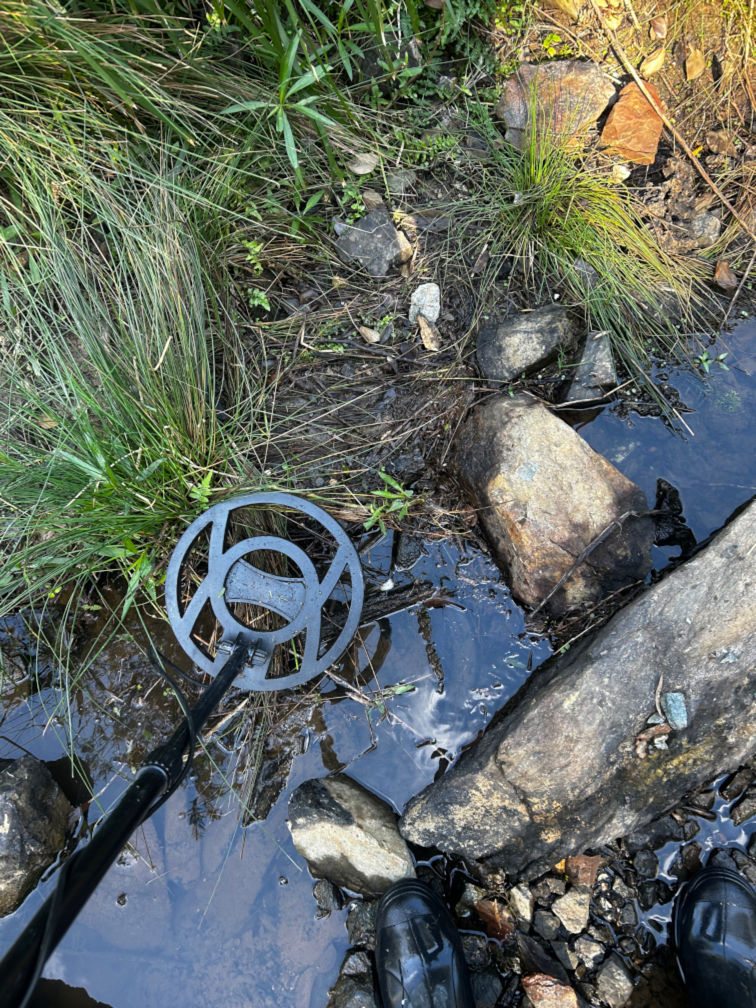
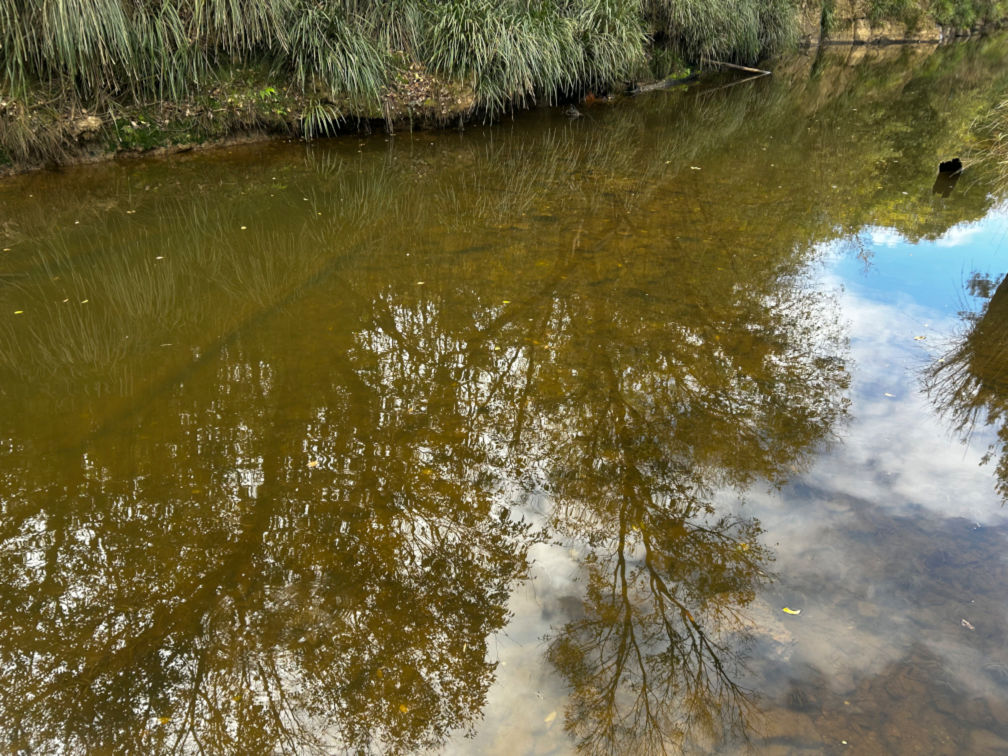
For the moment, I am only referring to it as an undocumented site.
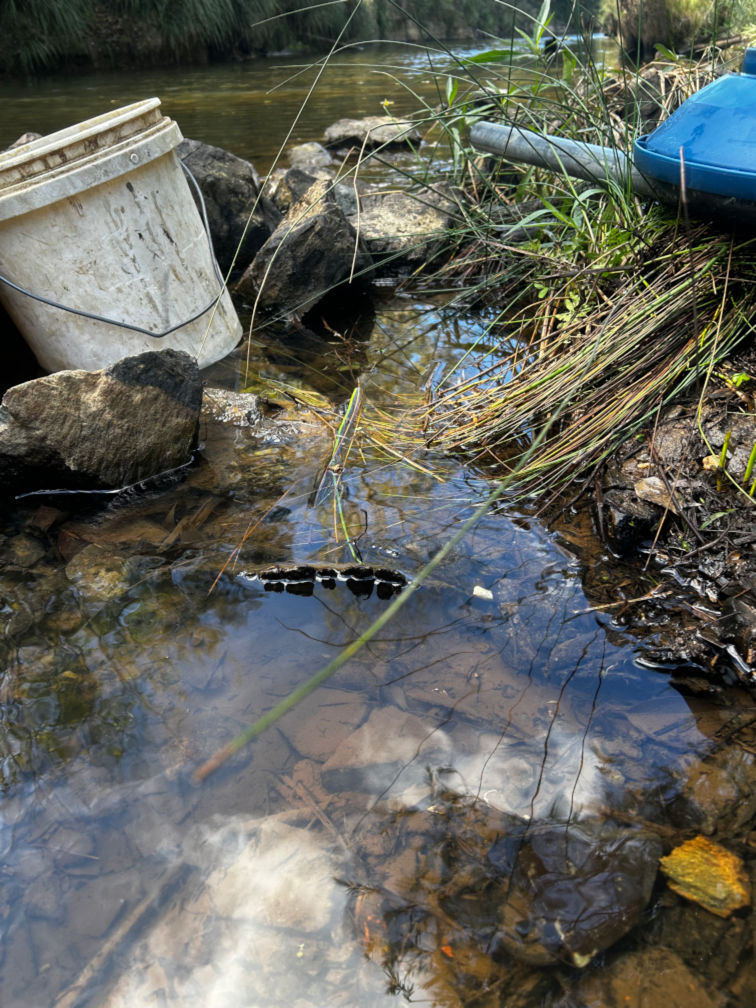
That is not because I am trying to make it sound mysterious for the sake of it. It is because I want more time to properly observe the ground, the creek features, the surrounding rock, and the material coming out of the area before I draw too much attention to it.
Some places deserve more patience.
This one feels like it might be one of them.
On this trip, I found several interesting pieces that are worth documenting. Some may turn out to be nothing. Some may become useful clues. One piece in particular has me more excited than anything I have found so far.
It is not a nugget.
It is not a vial full of gold.
But it is a small shard of rock with what appears to be visible gold-coloured material on it.
And under sunlight, shade, and magnification, it looked glorious.
Why I Am Keeping the Site Undocumented
I have mentioned some fossicking locations in general terms before, but I am being more careful with this one.
This undocumented site has enough interesting features that I want to spend more time with it before saying too much.
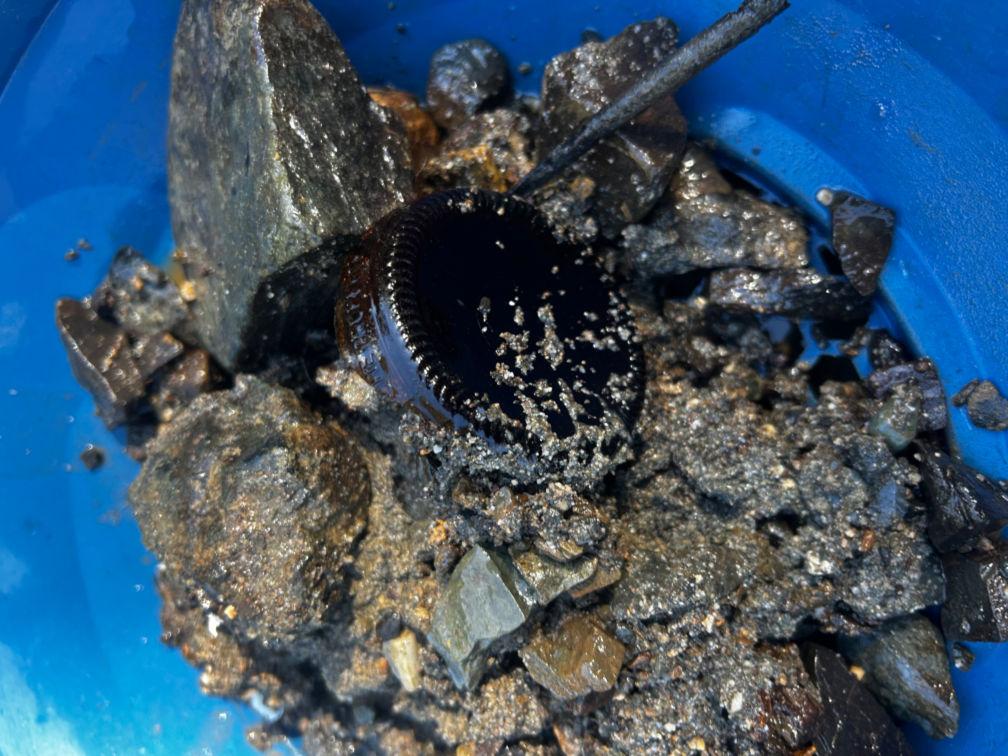
There are creek features I want to observe properly. There are different rock types showing up. There are possible flecks. There are quartz pieces that look different from what I have been seeing elsewhere. There are odd metallic-looking materials that need more careful inspection. There are also strange slag-like blobs that may be connected to historical activity, processing waste, or something else entirely.
In other words, this is not just a place where I happened to pan a bit of dirt.
It is a place that has started giving me questions.
That is enough reason to slow down.
The goal of this gold experiment series is to document the learning process, not to turn every possible location into a public target. So for now, this site stays general.
I may refer to it again in future posts, but I will keep the exact location out of it until I have a much better understanding of what I am actually looking at.
A Proper Specimen Moment
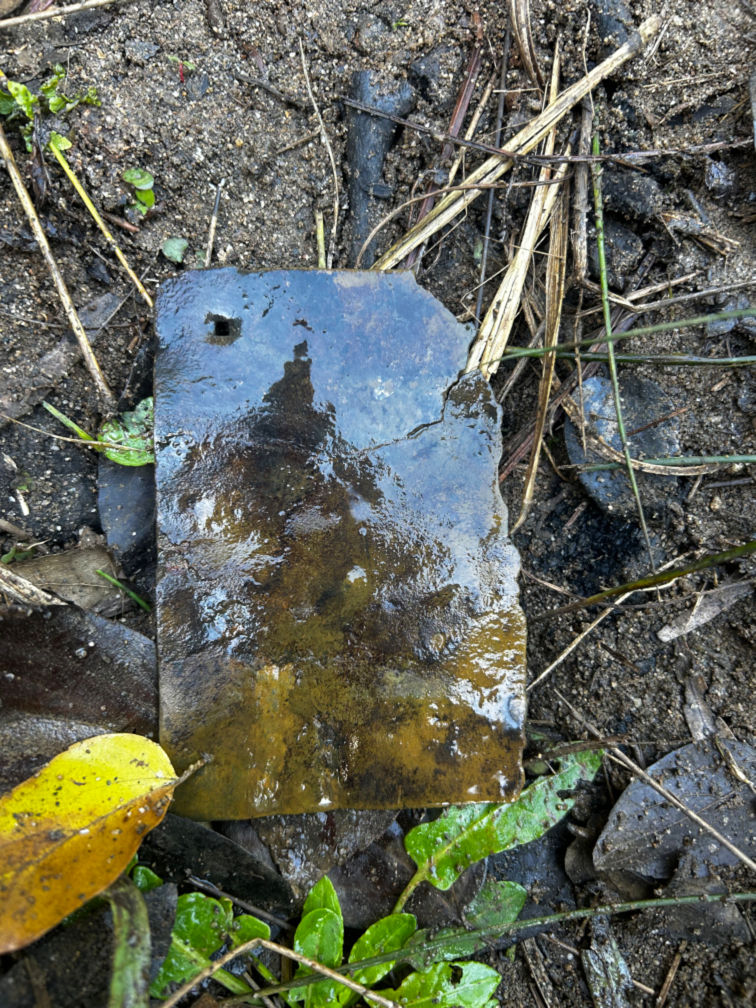
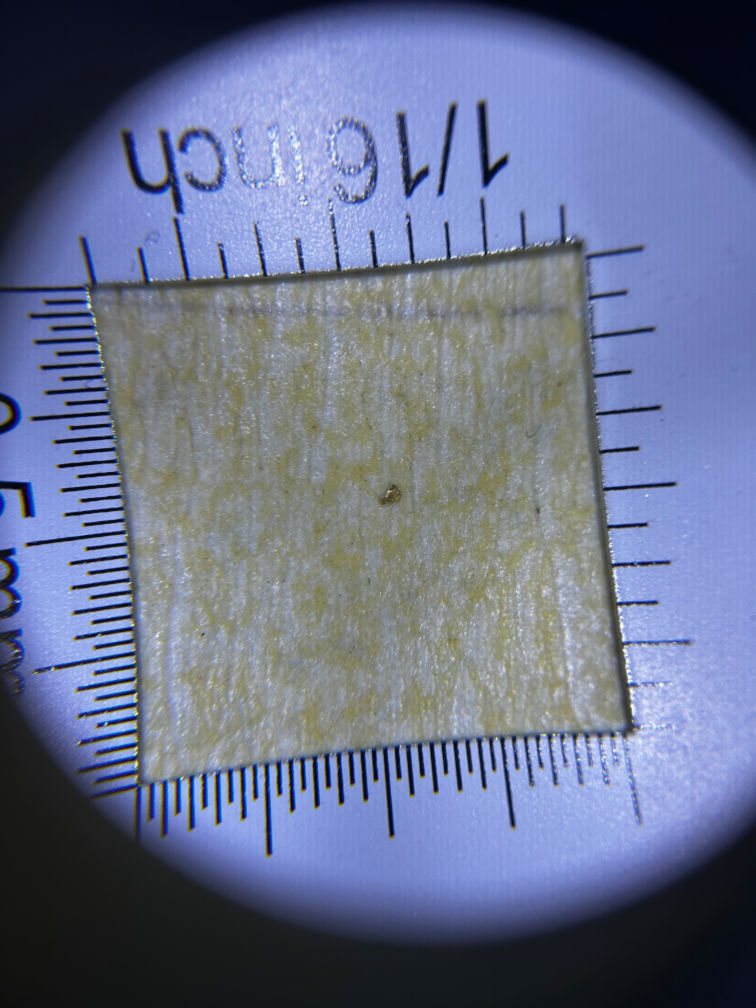
The most exciting find from the day was a small shard of rock with visible gold-coloured material on it.
I am still being careful with the wording here. I am not calling it confirmed gold just because it looks exciting.
But this is the most convincing piece I have found so far.
I looked at it in sunlight.
I looked at it in shade.
I checked it from different angles.
I also inspected it under magnification up to 35x.
It still looked good.
Very good.
The colour did not vanish when the angle changed. It did not behave like one of those shiny distractions that flashes once and then disappears. It held its appearance well enough that I have kept it aside as a proper specimen.
This felt different from spotting a possible fleck in the pan.
A fleck in the pan is exciting, but it is easy to second-guess. It might move. It might be tiny. It might be hard to photograph. It might look different once the light changes.
This was different because the material was sitting on rock.
It could be inspected.
It could be photographed.
It could be compared in different light.
For this stage of my learning, that felt like a real milestone.
Not a Nugget, But Still a Milestone
There is a temptation in gold fossicking to measure everything by the size of the find.
A nugget would be exciting.
A large flake would be exciting.
A decent vial of colour would be exciting.
But sometimes the value of a find is not just its size.
Sometimes the value is in what it teaches.
This small shard of rock matters because it gives me something physical to study. It gives me something I can photograph, inspect, compare, and possibly show to someone more experienced later.
It also changes how I think about the undocumented site.
Before this, the site was interesting.
Now it feels more promising.
That does not mean I have found a rich patch. It does not mean the area is full of gold. It does not mean every rock from there is worth smashing apart.
It simply means the site has produced enough evidence to justify more careful attention.
For me, that is a good result.
The Buttery Yellow Seam Material
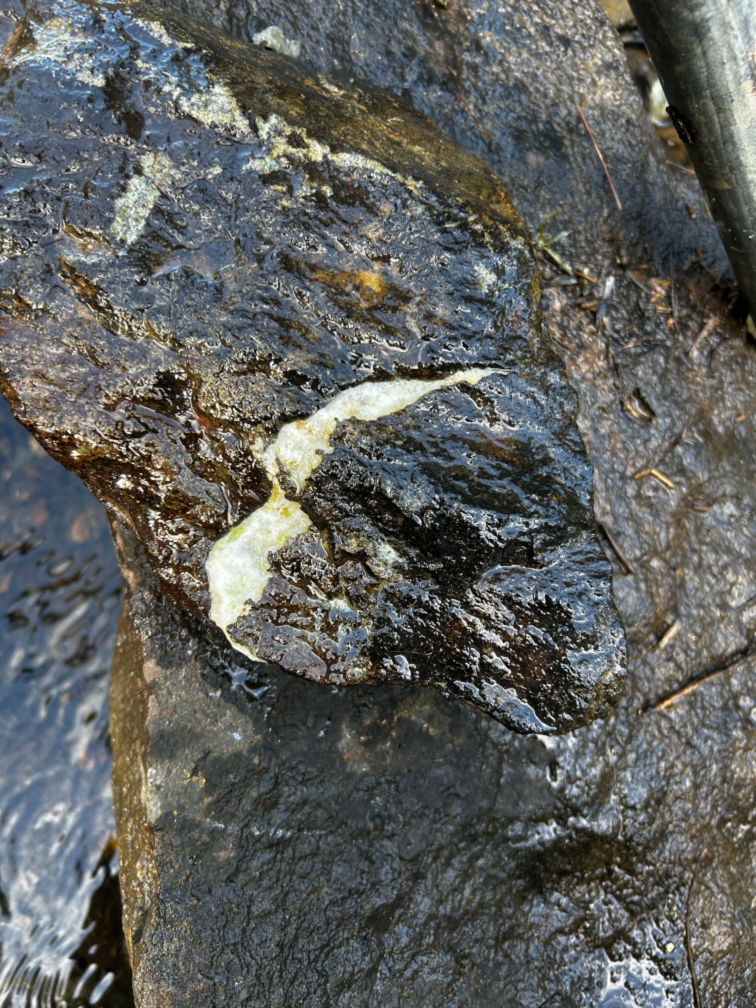
Another interesting piece came from quartz that was broken apart.
Along a seam between quartz and granite, I found a buttery yellow material.
The colour stood out immediately.
It also held its colour in sunlight, shade, and from different angles, which made it more interesting than a simple flash of mica or a quick reflection.
But the behaviour of the material makes me cautious.
I was able to scratch some of it off with a knife, but when pressure was applied, it crumbled rather than bent, flattened, or deformed.
That matters.
Native gold is soft, but it is also malleable. If it is pressed or scraped, it tends to flatten or smear rather than crumble into powder or fragments.
This material did not behave that way.
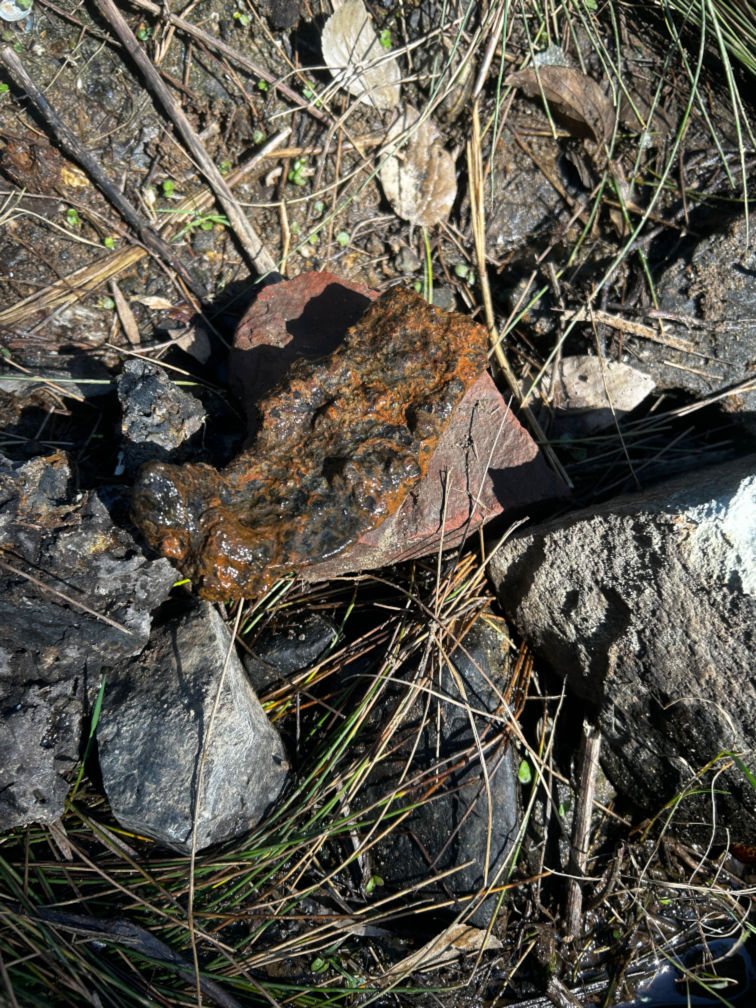
There is also evidence of iron staining on the same rock material, which adds another layer of possibility. It may be related to weathering, iron-rich alteration, sulfide breakdown, or some other mineralised material along the seam.
At this stage, I am not treating it as gold.
I am treating it as an unknown yellow seam material worth documenting.
It may turn out to be nothing important.
It may turn out to be a useful clue about the rock and mineral environment in that area.
Either way, it is staying in the specimen pile for now.
Quartz With Green Colouring
One of the other interesting rocks from the day had quartz with green colouring in sections of it.
That stood out because it was not something I had been seeing much in my previous fossicking material.
I do not know yet what is causing the green colour.
It could be staining.
It could be mineralisation.
It could be something completely ordinary that only looks exciting because I am still learning what I am looking at.
That is the tricky part of this whole process.
When I first started, anything shiny or colourful felt like it had to mean something. Now I am trying to be more careful. Interesting does not automatically mean valuable. Different does not automatically mean gold-bearing.
But it is still worth documenting.
The green sections in the quartz made the piece stand out enough to bring home for closer inspection. I want to look at it under magnification, photograph it properly, and compare it with other material from the same general area.
For now, it is another clue.
Not proof.
Just a clue.
A Shiny Copper-Coloured Chunk
Another piece I brought home was a chunk of material with a shiny copper-like colour.
At first glance, it caught my attention because the colour was so strong.
The obvious thought was copper.
But when I tested it physically, it did not behave the way I would expect soft copper to behave. It did not bend or deform easily.
That does not mean it is not copper-bearing. It also does not mean it is valuable. It simply means I do not know what it is yet.
It could be a copper-coloured mineral.
It could be a stained piece of rock.
It could be a harder mineral with a coppery appearance.
It could be something completely ordinary wearing a very convincing disguise.
That is why I brought it home.
A lot of this learning process is about building a better mental library of what different materials look like, how they behave, and what they are not.
The copper-coloured piece may not be important.
But it looked unusual enough to keep.
A Couple of Possible Flecks
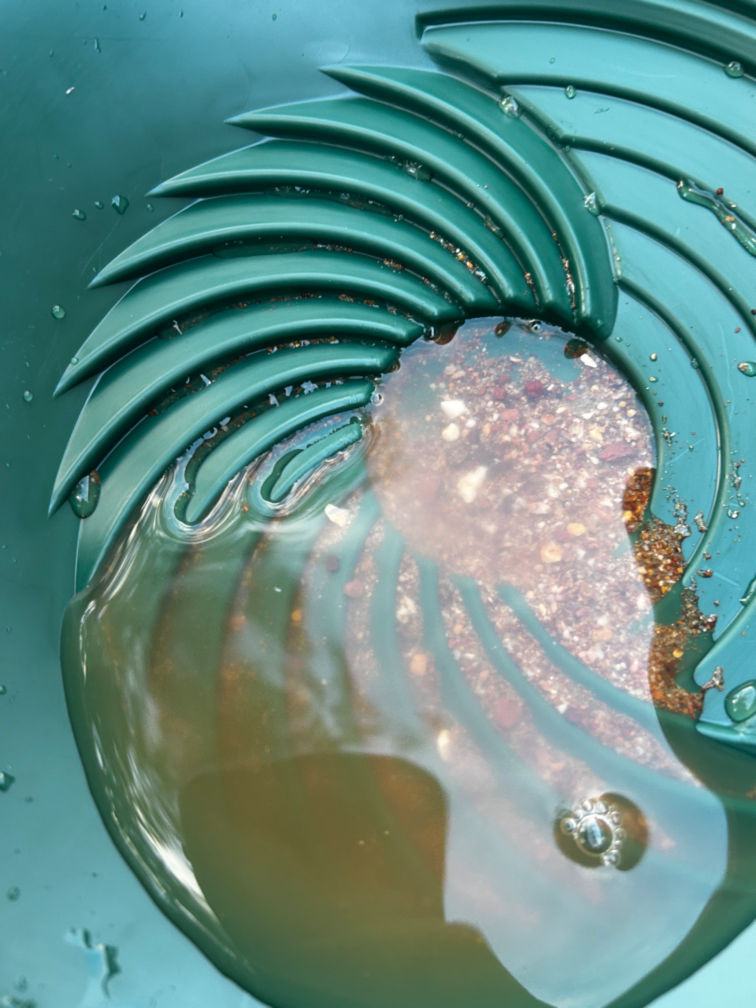
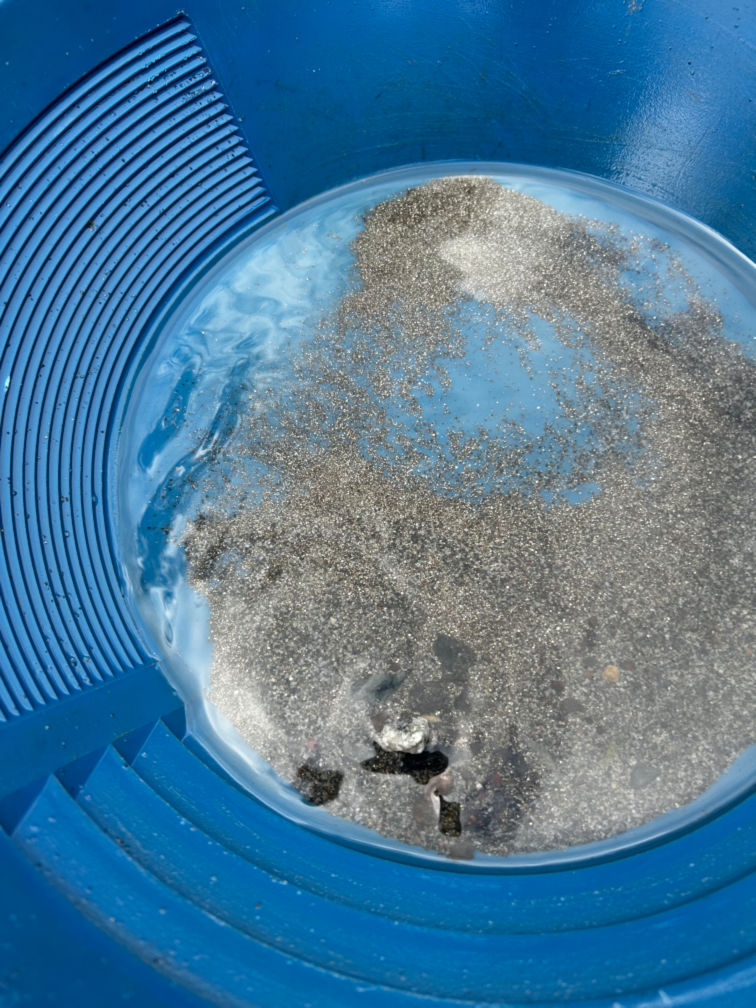
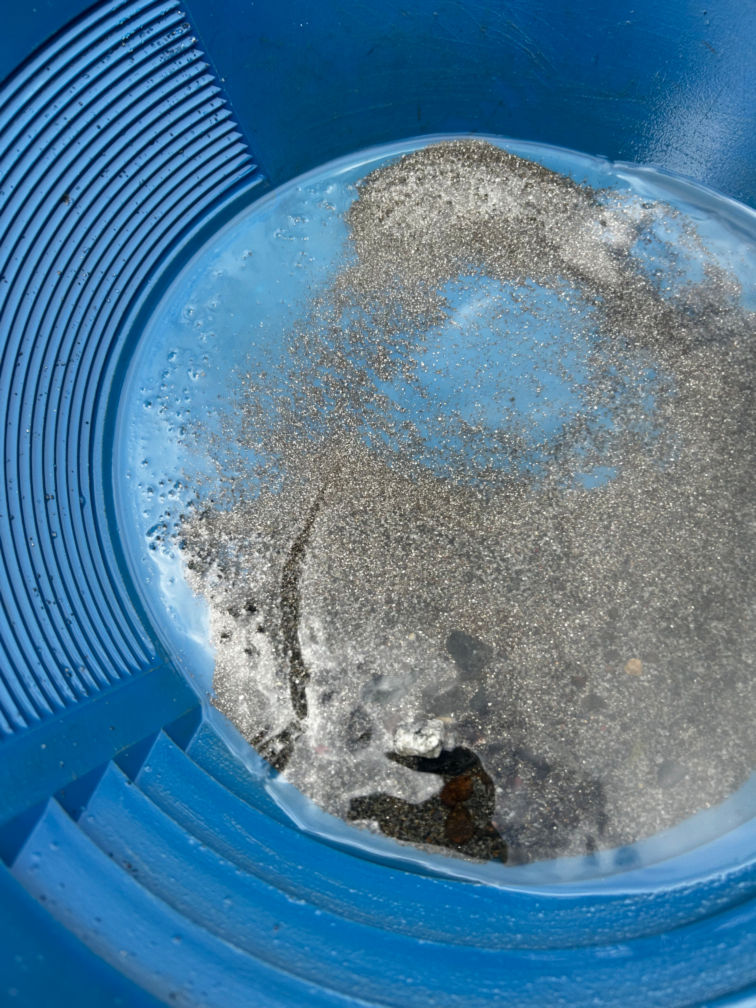
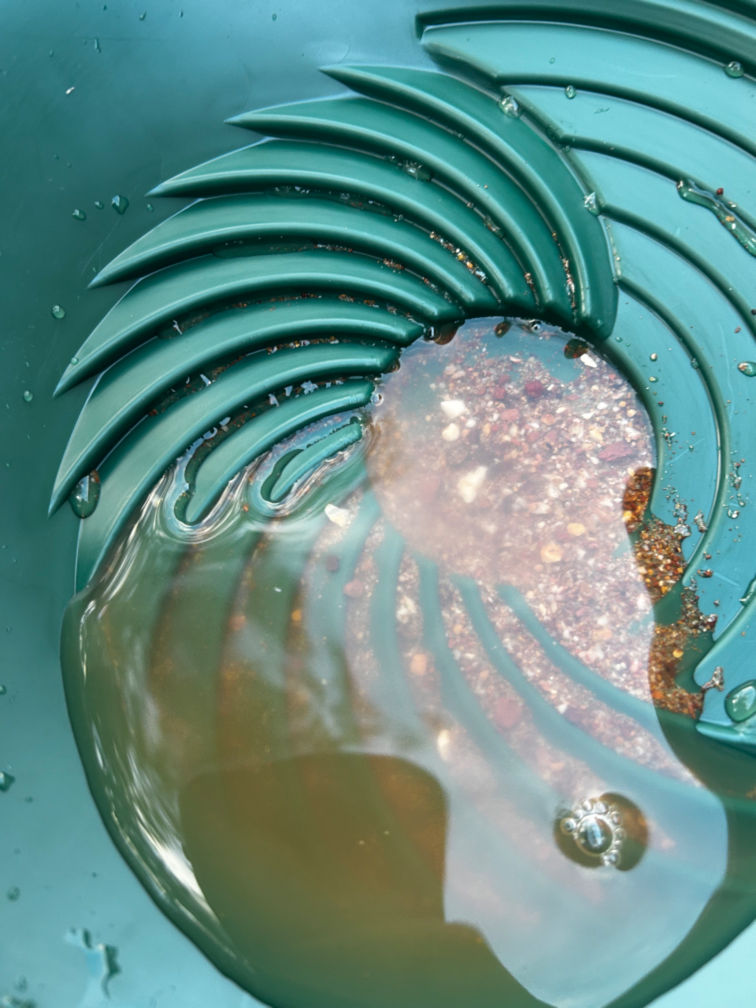
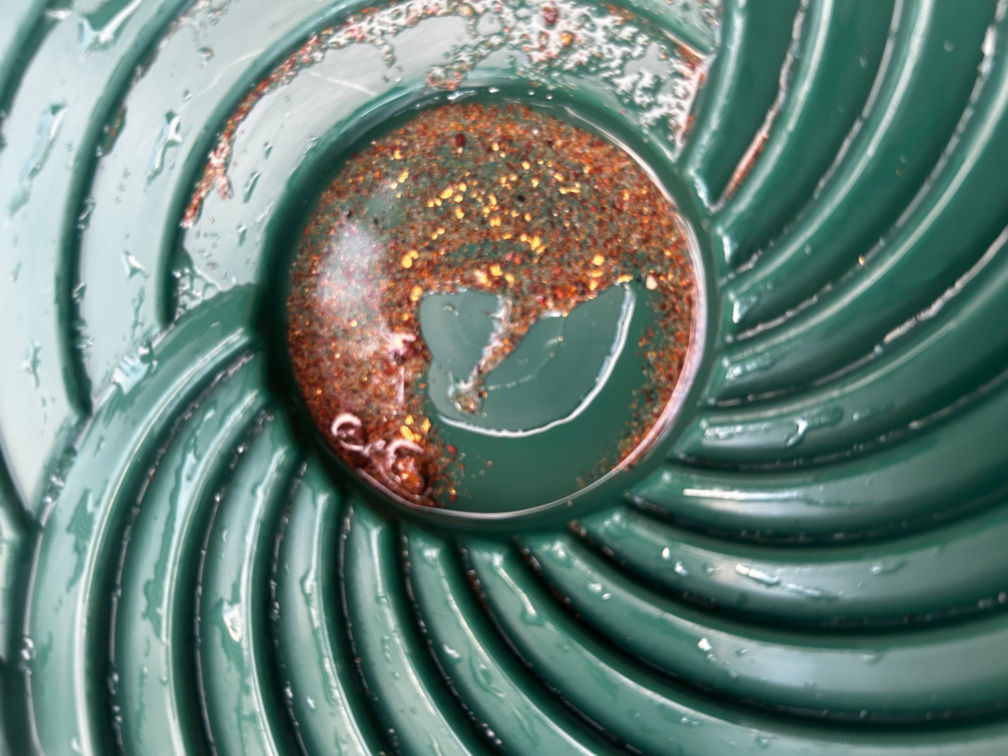
I also found a couple of possible flecks during the day.
As usual, I am being cautious with the wording.
They looked interesting enough to keep, but I am not calling them confirmed gold yet.
I have learned that tiny material can be deceptive, especially when the light is changing, the pan is wet, and there are shiny distractions mixed through the concentrates.
Still, possible flecks matter.
Even if they are tiny, they help build a picture of what the site may be producing. One possible fleck on its own does not prove much. A few possible flecks, interesting rock, quartz veins, yellow seam material, and visible gold-coloured material on a rock shard together make the site much more interesting.
That is why I am documenting everything.
The small pieces matter because they are part of the wider pattern.
The Strange Silvery Balls
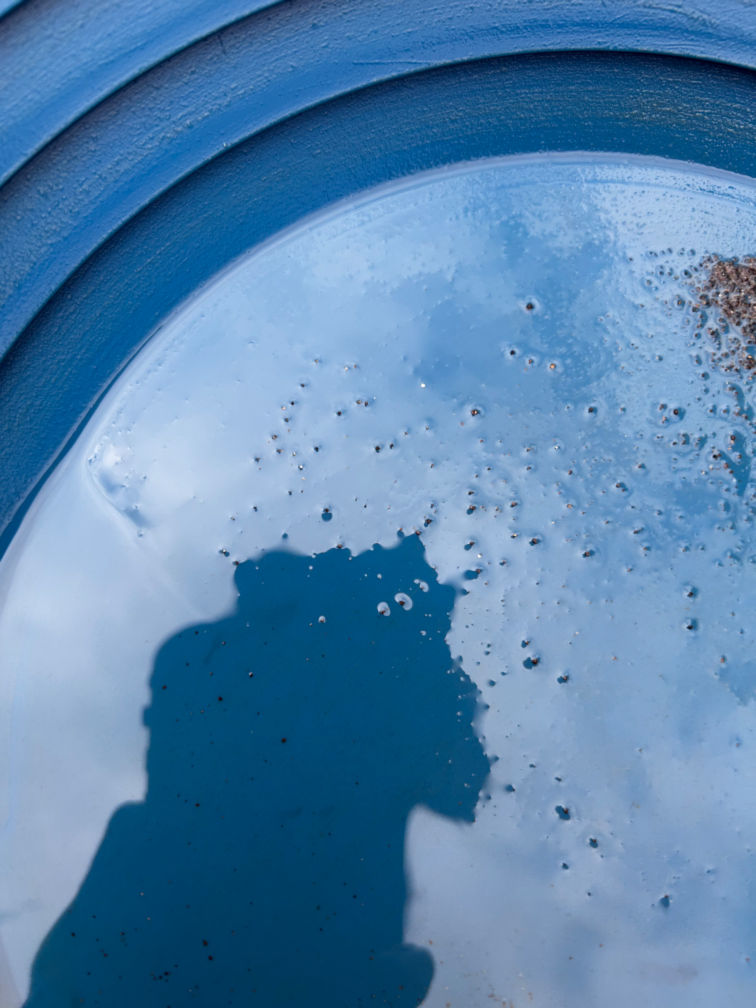
Another recurring mystery has been the small silvery balls I have been finding in some of my material.
At first, I thought they behaved more like solid balls. Some could be picked up with tweezers and moved around carefully, which made me question whether they could be mercury at all.
Then I noticed something stranger.
When one was held with slightly more than normal tweezer pressure, it distorted in shape. With a little more pressure, it slipped out of the grip of the tweezer points, reformed as a ball, and lost a small chunk as it did.
After a few swirls around the pan with the other concentrates, the smaller chunk appeared to start forming into its own little ball.
All of this happened underwater.
The confusing part is that the balls still do not always join back together. I have seen two of them sit side-by-side, even touching, without merging into one.
So I am not claiming to know exactly what they are.
They may be mercury.
They may be amalgam.
They may be some other soft metallic material.
They may be coated, contaminated, or mixed with fine material that changes how they behave.
What I do know is that they are unusual enough to treat seriously.
They are non-magnetic. They can behave partly solid and partly fluid-like under pressure. They reform into rounded shapes. They are showing up more than once.
That is enough for me to keep them completely separate from the rest of my gear and samples.
For now, I am treating them as suspected mercury, possible amalgam, or unknown silver metallic material.
They are stored underwater in a dedicated container and will not be heated, crushed, smelted, acid-cleaned, or casually tested.
Why I Am Not Experimenting With the Silvery Material
It is tempting to want an answer immediately.
I would like to know exactly what these silvery balls are.
But I am not going to find out by playing around with them.
I have already decided that the safest approach is containment, separation, and proper identification.
That means:
- They stay underwater.
- They stay sealed.
- They stay labelled.
- They stay away from normal fossicking gear.
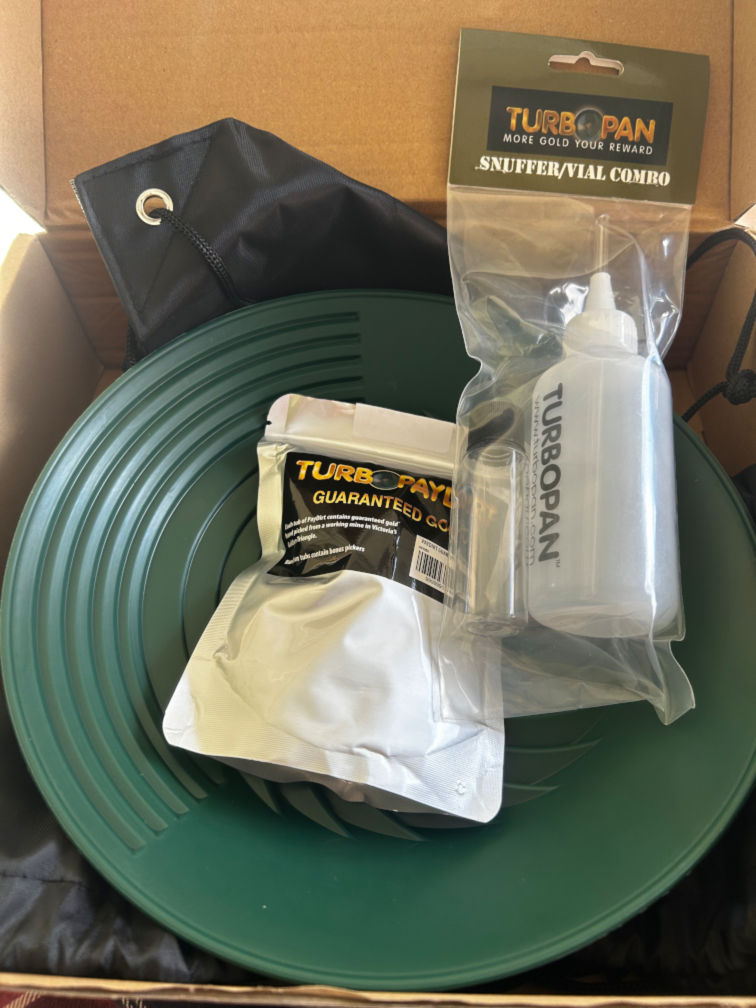
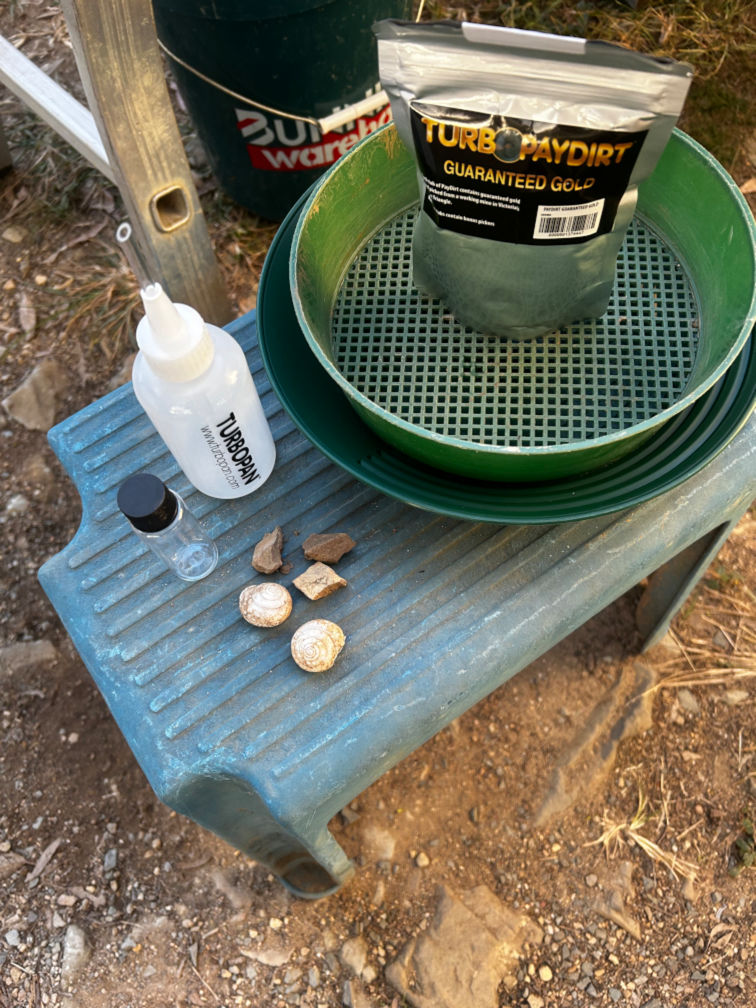
- The dedicated snuffer and storage container will not be used for anything else.
- They will not be heated.
- They will not be smelted.
- They will not be treated with acid.
- They will not be crushed.
- They will not be mixed back into other samples.
Until I know what they are, they remain suspicious material.
That might sound overly cautious, but old goldfield areas can contain all sorts of leftovers from historical activity. I would rather be too careful than too casual.
Slag-Like Blobs and Fused Material
The site also produced some strange blobs of material that are worth documenting separately.
These are different from the silvery balls.
They do not look like ordinary creek stones.
They have numerous bubbles, pits, and pockmarks across their surfaces. In many places they have a glassy appearance. Some surfaces look blobby or fused, almost like material that has melted, cooled, and weathered over time.
The colours vary across the pieces. I have seen black, brown, rusty brown, grey, orange-red, and other colours around that general range.
Some of the blobs also appear to have small rock particles trapped inside them.
There are also layering lines or flow-like lines around parts of the surfaces.
They do not feel especially heavy for their size, but that may be because the material is full of small voids or bubbles.
At this stage, I am describing them as slag-like fused material or possible historic waste material.
I am not calling them ore.
I am not calling them proof of gold.
But they are unusual enough to keep and document.
Could the Slag-Like Blobs Contain Gold?
The honest answer is: possibly, but I am not assuming they do.
If these blobs are related to historical processing waste, they could theoretically contain trapped metal particles, sulfide fragments, crushed rock particles, or even tiny traces of gold.
That does not mean they are worth anything.
It does not mean they are gold-bearing.
It does not mean they should be crushed and processed without thinking.
It simply means they are interesting enough to keep aside until I understand them better.
If the old processes were imperfect, some valuable material may have been lost into waste. But if these pieces are furnace waste, clinker, industrial debris, or some other fused material, the contents could be completely different.
They could contain nothing useful at all.
They could also contain things I do not want to spread, breathe, dissolve, heat, or mix through my normal equipment.
So for now, they are not going into the pan as ordinary concentrates.
They are being treated as specimens and unknown material.
I may eventually have one tested or identified properly before deciding whether any of it is worth crushing or processing.
Tailings, Slag, and the Problem With Names
One thing I am learning is that the words matter.
I have sometimes thought of strange waste material as “slag”, but that may not always be the correct term.
A stamping battery mainly crushed ore. That kind of process produced tailings – crushed rock, sand, slimes, heavy residues, and material left after gold recovery.
True slag is more specifically linked with smelting or high-temperature furnace processes.
So when I find strange historic-looking material near old gold areas, I need to be careful with the label.
It might be battery tailings.
It might be fused waste.
It might be clinker.
It might be old industrial rubbish.
It might be material that has been moved and mixed by water over time.
It might be a combination of several things.
That is why I am describing these pieces visually before trying to name them too confidently.
Glassy.
Pocked.
Bubbly.
Blobby.
Layered.
Rust-stained.
Rock particles trapped inside.
Those observations are more useful than guessing too quickly.
The Site Is Starting to Ask Questions
This undocumented site is becoming interesting because it is not giving me just one type of clue.
It is giving me several.
There is the rock shard with visible gold-coloured material.
There is the buttery yellow seam material between quartz and granite.
There is quartz with green colouring.
There is the shiny copper-coloured chunk.
There are possible flecks.
There are rocks with quartz veins.
There are strange silvery balls that need proper identification.
There are slag-like blobs with glassy patches, bubbles, pocks, trapped rock particles, and rusty colours.
There are heavier pieces that feel different from what I expect for their size.
None of those things alone would be enough to make a claim.
But together, they are enough to make me want to return.
The site is starting to ask questions, and I want to answer them properly.
That means more observation, more careful sampling, better photos, better labelling, and less rushing.
Keeping the Best Pieces Intact
One thing I am trying not to do is destroy the most interesting specimens too quickly.
Earlier in this journey, I probably would have been more tempted to smash everything apart, crush it down, pan it out, and see what happened.
I still may crush some material later.
But I do not want to rush that step with the best-looking pieces.
The rock shard with visible gold-coloured material is more useful to me intact for now. I can inspect it, photograph it, compare it under magnification, and possibly have someone more experienced look at it.
The yellow seam piece is also worth keeping intact for the moment, especially because the seam and surrounding iron staining are part of the story.
The same goes for the green-coloured quartz, copper-coloured chunk, and slag-like blobs.
If I decide to crush anything later, I will choose smaller or less visually important pieces first.
There is no point destroying the evidence before I understand it.
Safety Around Crushing Rock and Unknown Material
If I do decide to crush any of these rocks later, I need to approach it properly.
Quartz dust is not something I want to breathe in.
Crushing rock can create fine dust, and fine silica-containing dust is not something to treat casually.
That means no careless indoor rock crushing.
No smashing unknown material in a way that sends dust everywhere.
No heating or smelting strange material just because it looks interesting.
The same caution applies to the silvery balls and slag-like blobs.
Until I know more, they stay separate.
The gold experiment is meant to be a learning process, not a reason to be reckless.
What I Want to Check Next
The next step is to document these pieces properly.
That means I want to take better photos of each specimen, including:
- The full rock or specimen
- Close-up photos of the interesting area
- Photos in sunlight
- Photos in shade
- Photos under magnification where possible
- A scale reference, such as a ruler or coin
- Notes on how each piece behaves when inspected
For the rock shard with visible gold-coloured material, I especially want clear photos that show how the colour sits on the rock.
For the yellow seam material, I want photos of the quartz, granite, seam, yellow material, and iron staining.
For the green quartz, I want close-ups of the green sections and the surrounding quartz.
For the copper-coloured chunk, I want photos from different angles so I can compare the shine, colour, and texture.
For the possible flecks, I want to inspect them again in good light and, if possible, under magnification.
For the silvery balls, I want to keep documenting behaviour without playing around with them unnecessarily.
For the slag-like blobs, I want clear wet and dry photos showing the bubbles, pocks, glassy surfaces, trapped rock particles, colours, and layering lines.
The goal is not to rush to a conclusion.
The goal is to build a better record.
Why This Find Feels Different
This outing feels different from some of the earlier ones.
The first smelting attempt was mostly a lesson in what not to do.
The early panning trips were about learning how hard it is to spot colour and how easy it is to be distracted by mica, rust, scrap metal, and other shiny things.
The tailings experiments taught me that even waste material can still be useful for technique practice.
But this undocumented site has now produced something that looks more like a proper specimen.
That changes the feeling of the project.
Not because I suddenly know what I am doing.
I definitely do not.
But because there is now something physical and visible that seems worth studying more carefully.
A shard of rock with possible gold on it is not a fortune.
But for a beginner learning the process, it is exciting.
Very exciting.
What I Learned From This Outing
This trip gave me several useful lessons.
The biggest ones were:
- Some sites need more time before they are discussed publicly.
- Visible colour on rock is worth documenting carefully.
- A good-looking specimen should not be destroyed too quickly.
- Yellow material that crumbles is probably not native gold, even if the colour is interesting.
- Quartz with unusual colouring is worth observing, but not overhyping.
- Copper-coloured material is not automatically copper.
- Possible flecks matter more when they appear alongside other clues.
- Iron staining and quartz seams are worth noting.
- Strange silvery balls need careful handling and proper identification.
- Slag-like blobs may tell part of the historical or geological story.
- Not every unusual piece should be crushed immediately.
- Careful photography may be just as important as collecting the sample.
- The goal is to build evidence, not jump to conclusions.
That last point is probably the most important.
I want to be excited.
I am excited.
But I also want to stay honest.
Final Thoughts
This undocumented site has my attention now.
I am not ready to say too much about it. I am not ready to name it. I am not ready to make any big claims about it.
But I am ready to say that it produced one of the most interesting pieces I have found so far.
A small shard of rock with visible gold-coloured material.
A buttery yellow seam in quartz and granite.
Green-coloured quartz.
A shiny copper-coloured chunk.
A couple of possible flecks.
Strange silvery balls.
Slag-like blobs full of bubbles, pocks, glassy patches, trapped particles, and rusty colours.
Plenty of questions.
That is enough to make the site worth another careful look.
For now, the pieces are being kept aside, labelled, photographed, and treated as clues rather than conclusions.
No dream nugget.
No dramatic announcement.
No confirmed rich patch.
Just a handful of interesting rocks, strange materials, and a very strong reason to keep learning.
And honestly, that is enough to make this one of the most exciting steps in the gold experiment so far.
Part of the Gold Experiment Series
This post is part of my ongoing gold fossicking and smelting experiment series:
Learning Gold the Hard Way: Fossicking, Smelting, and Small-Scale Experiments
You can follow the full progress log on the main hub page, where I will continue adding updates as the experiment develops.